It’s been a few weeks but we’re back from Salute 2016 and raring to go as Bernard and Charlie escalate their mini campaign with a new scenario, with a twist!
Pre-battle
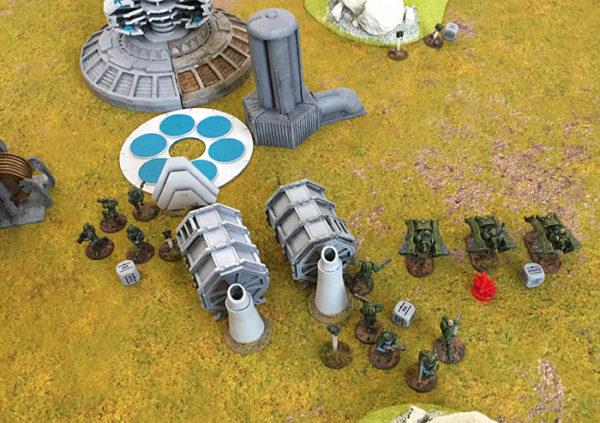
The scenario was chosen as ‘Let Battle Begin’ (from page 142 of the Rulebook) with a few extra rules. The Algoryn target was a cluster of power generators – to destroy these, each of the Algoryn squad leaders carried special explosives which would be activated if they ended a turn in base-to-base contact with a generator.
The Algoryn started with a third of their force on the board, with (from turn 1) the next third being able to arrive and the 2nd turn the last third – accounting for the force actually heading towards its target.
The Isorians also started with a third of their force on the board and a third being available turn 1, the last third arriving in turn 2. The difference was that the Isorians would have to make command checks to appear as they called in reinforcements.
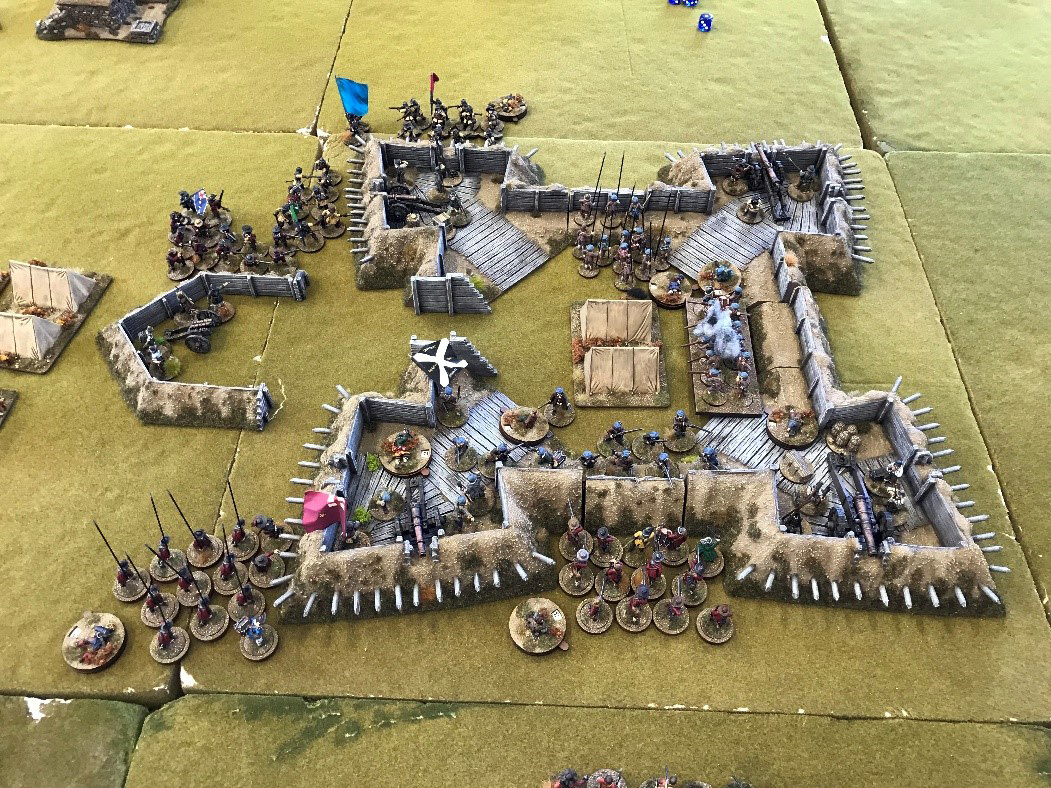
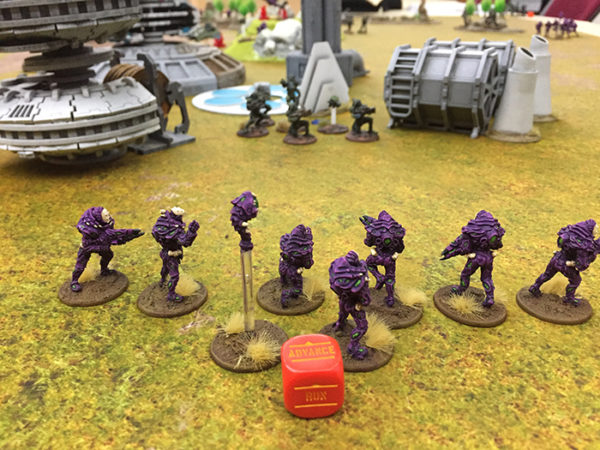
The Algoryn advanced through the terrain, hoping to surprise the Isorian defenders. The Infiltration squads were leading the force with Commander Krall. The power generators stood above the terrain, the only way to destroy them was to plant explosives as their shields protected them from the air.
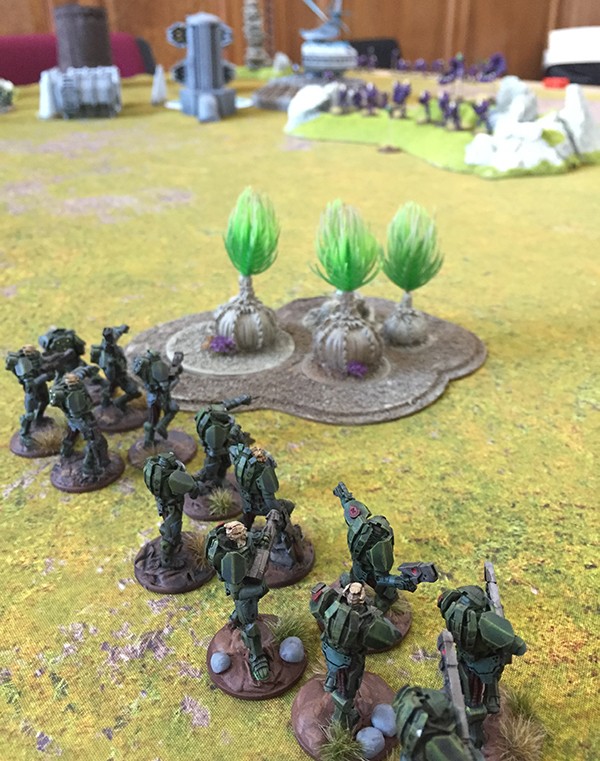
The Isorian squads saw the advance element of the Algoryn force approach. A quick pulse call was sent to alert the other forces around to back up the defences. As the Infiltrators advanced the Senatex squads advanced to engage.
To Battle
Turn 1
The first turn saw all units Run or Sprint into position – with the Algoryn trying to advance as close as possible to their objectives. The Isorians scrambled to intercept their advance.
One of the Algoryn Infiltration teams sprinted forward – making good progress towards their objective, but – alas, the Dice Gods weren’t on Charlie’s side, and he failed the Agility test! The unit were Exhausted, receiving one Pin Marker.
Page 20 states: If a unit makes a sprint move it risks exhaustion, once it finishes it’s move it must take an Agility (Ag) test.
If the test is failed the unit becomes exhausted and suffers
one pin to represent this. If the test is failed on a roll of a 10
the unit suffers two pins instead. The troops are obviously in
need of some fitness training!
Turn 2
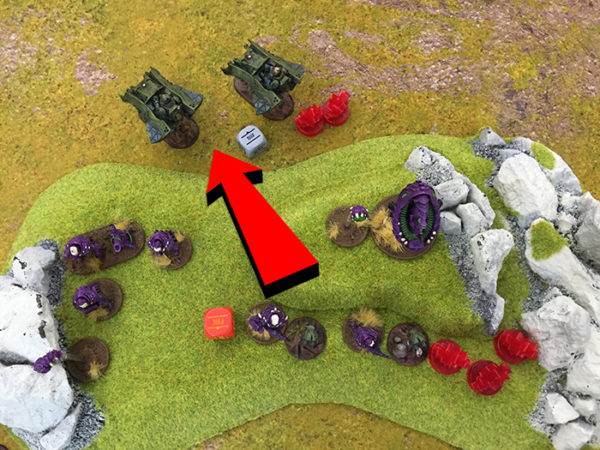
The Second Turn started with a flurry of fire – with Isorian Squads and Weapon Drones opening-up on Infiltration Squads and AI Squads alike. The Algoryn dodged fire with help from their Camo Drones – and managed to get a few shots back at the Isorian Weapons Drone, inflicting a shot against it’s Phaseshift Armour – but dealing no real damage.
Possibly the highlight of the turn would be the X-Launcher stand-off – the Isorian Weapons Team lobbed a shell far across the battlefield which – unfortunately – missed it’s mark. However – the shell deviated wildly, slamming into the nearby AI Command Squad, obliterating both bodyguards – leaving only the Algoryn Commander standing – easy prey to be picked-off by the phase sniper later in the turn.
His auditory sensors took a few seconds to re-calibrate, and come back online with a shriek of feedback following the blast. He was overcome by a thunderous whooshing sound as the Algoryn skimmers advance down the flank and pour fire on the Isorians.
The AI Mag light support fired at an Isorian squad who go down in an effort to minimise damage, however 2 hits and 1 dead Isorian later, they re-gather themselves and the survivors prepare to return fire next turn.
Turn 3
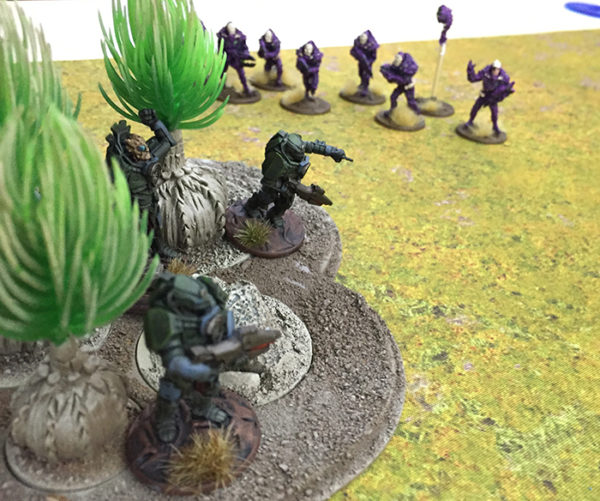
Over on the far flank, one of the Infiltrator squads advances and opens fire on the Isorian squad which face them. The Isorians go down – hoping to duck and dodge the incoming fire – however one is too slow, taking a round to the chest.
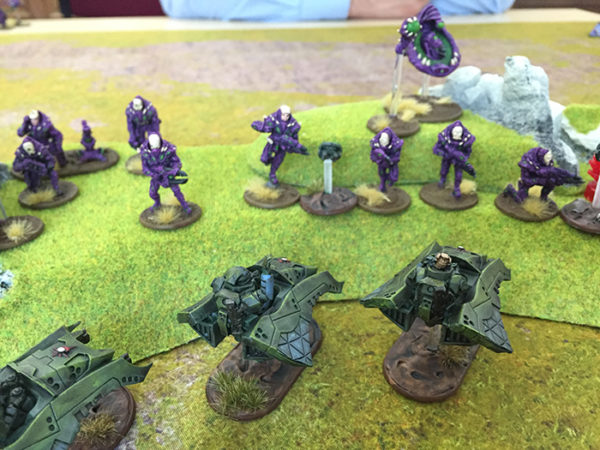
The next dice pulled goes to the Isorian commander – who moves a squad up toward the Algoryn Intruder Squadron. However, the Skimmers notice their advance – and open fire as they approach. Two of the Isorians are slain before they are able to return fire – however their comrades do them proud, taking-out the Intruder Squadron’s leader.
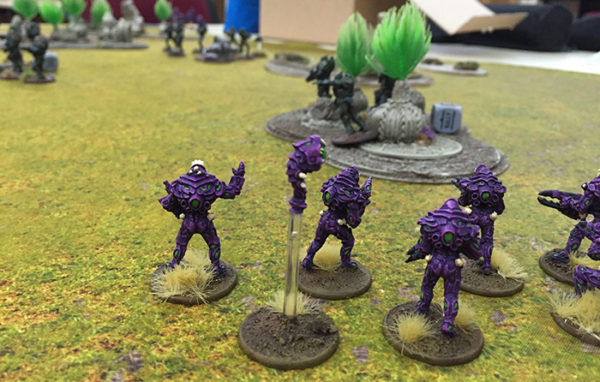
The second Infiltrator Squad advances toward another Senatex Phase Squad – again, the advanced technology of the Isorians enables them to anticipate their approach… and a tense firefight ensued – the Isorians launched a hail of short-burst Scatter Shots which ricocheted off-of and around the Infiltrators who – in retaliation, returned fire with their Mag Repeaters. With both sides desperately unloading as many shots as possible, it proved a ferocious firefight which would continue for some time as both sides tried to best one another.
Turn 4
Having made a steady advance toward the generators, the Algoryn Assault Squad engage a defending Senatex Phase Squad – as they charge in, both sides unleash a flurry of point blank shooting – with one Isorian trooper slumping to the ground as his armour failed him.
As the Assault Squad smash into the Isorians, they activate the Distort Generators mounted on their wrists in an attempt to gain the upper-hand – and it works! – in the ensuing combat, the Algoryn are able to slay three of the enemy, while the Isorians are only able to take-out the Assault Squad leader.
The one remaining Isorian is forced to take a Break Test – and he passes to fight another day.
The now-leaderless Intruder Squadron charges toward the Isorian X-launcher – their Twin Mag Repeaters blazing as they pass – and, using their agility to their advantage, they fly-off rather than engaging in close combat (page 133) due to their Fast rule – but again the Algoryn forces fall prey to the Isorian Phase Sniper, and the skimmer squad, failing a test, is no more.
From Page 133 – “Fast units with a current run order are allowed to break off
from an assault after point blank shooting has been worked
out. When fast units consolidate after breaking off an assault
they are allowed to move through the opposing enemy unit.
Alas, fate once more deals the Algoryn a cruel blow – the Isorian Phase Sniper opens fire again, felling one of the remaining Skimmers – and the final Intruder Squadron member fails a Break Test, fleeing the battlefield.
The Isorians attempt to capitalise upon this small victory – with the Plasma Light Support-armed Nhamak drones opening fire upon one of the A.I Squads – the Algoryn troops go Down in an attempt to limit the damage inflicted, however it’s simply not enough – and the A.I Squad is no more.
The Algoryn attempt to retaliate by sending-in an Infiltration Squad – whose Mag Repeaters light-up the drones but inflict only superficial damage. A further wave of counter-fire from the Nhamak sees-off a further 2 Infiltrators.
The drones consolidate following the firefight – as do the Infiltrators – who take advantage of the situation and call-in fire support from a nearby Support Team armed with an X-Launcher. With a shriek and a crash, the shell smashes through the troposphere and slams into both drones, reducing them to scrap.
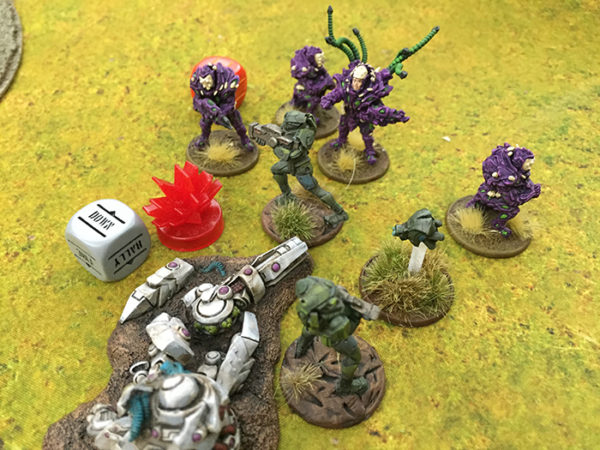
To round-up an action-packed turn, the Isorian Command Squad charge into the A.I Assault Squad (who cut-down a Senatex Phase Squad in the previous turns) – the Command Squad pours-in a hail of Plasma Carbine fire which kills three – and the remaining Assault Squad member fails a Break Test, and flees the battle.
Turn 5
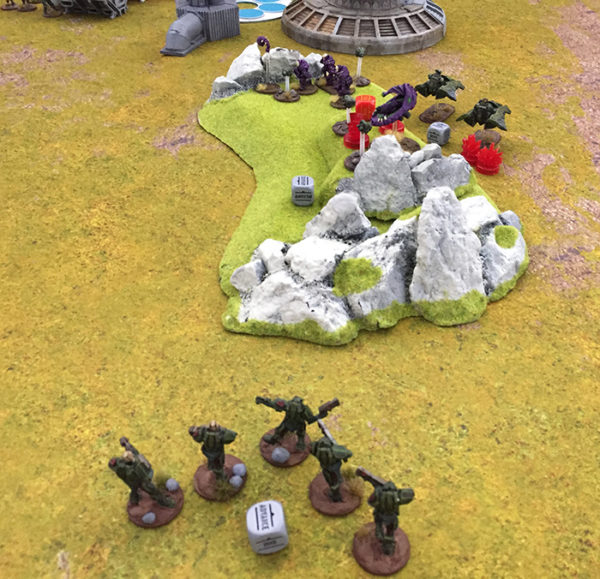
The Infiltration Squad nearest the generators continued their race to the objective – and just before their leader was able to begin readying the charge, they were bombarded by the Isorian X-Launcher – whose crew had been watching their advance intently, carefully sighting the target and tracking them over some time. The entire remainder of the Infiltration squad was wiped-out.
At this point – with 5 Algoryn units having been destroyed, and the remainder of their units too far away from the objective to realistically achieve their goal – we called it a night. The Algoryn would pull-back, count their losses, and de-brief before launching their next attack…

The Algoryn command fights on against the Isorians only to be cut down by the hidden sniper!
End
Charlie
The X-launchers on both sides did really well hitting on 3’s and the early assault of Bernard’s taking out the AI command squad along with the sniper picking things off at leisure was nasty. In hind sight I made the mistake of spreading my attack out on both sides of the board instead of concentrating on the flank. This was partially in reaction to Bernard also spreading out to begin with. Bring on the next game and stick to the plan!
Bernard
Charlie spreading out as he came on instead of concentrating on the flank helped. I sent both my reinforcement squad and command squad sprinting down the flank in the small space at the edge of the board next to the generators. If Charlie had been able to get more troops in I think it would have all changed. There were some lucky dice rolls as well but ultimately I feel getting to know my army and using the phase armour to it’s fullest helped win the day.
The Algoryn retreated away from the Isorians heading further away from their lines. They would be mopped up by the outer Isorian patrols, their communications were being jammed. As High Commander Berwis surveyed the retreating forces, he changed the screen to the Algoryn force heading towards his trap, a smile played across his lips…
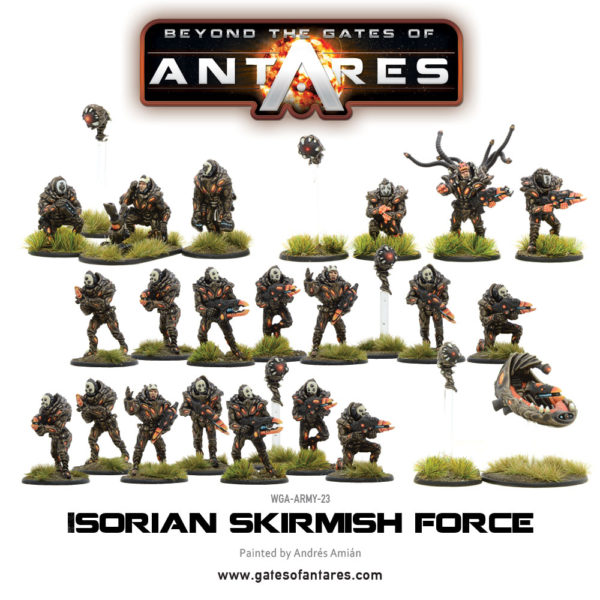
Start your Isorian force with a simple Skirmish starter: