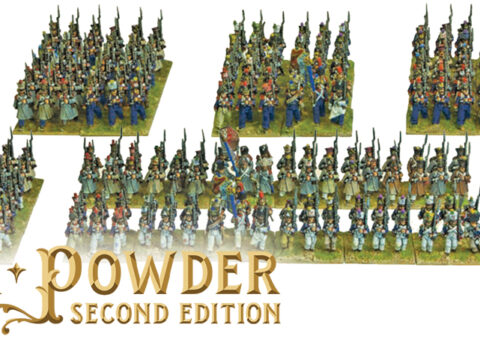
Steve from ‘Arcane Scenery and Models‘ has long been a friend of Warlord, and has recently been blogging his Napoleonic wargaming hobby adventures…
This week he was kind enough to share some of the secrets behind his speed painting (or should that be ‘Soap Opera Painting’) of the 32nd Foot!
Batch Painting – The Concept
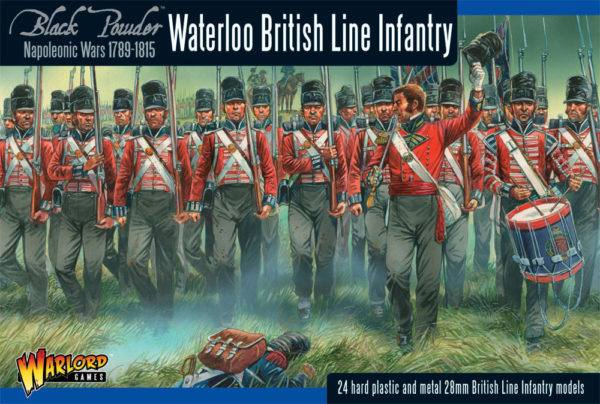
Last week I started painting the 32nd ‘Cornwall’ Regiment. I am going to paint the rank and file of 18 troops in one batch – quite a large number for me – I usually paint in batches of 6 or 8. I hope that the stage by stage pictures will be a help to any newcomers to the hobby and perhaps to anyone looking for ideas on painting in general.
There are advantages and disadvantages to ‘batch’ painting. On the one hand, you do get a large number of figures finished in one go but this is offset by the time it takes to get to the final stage and see that the figures are table ready! A degree of patience is required to stick with the process. I think that there is also a drop in quality when painting a large batch as opposed to individual figures. However, as these will form the main bulk of the unit I don’t think that it will be quite so apparent and I will of course spend a bit more time on the officers.
My other name for ‘batch painting’ is ‘Soap Opera painting’… Basically, when Emmerdale or Eastenders start on the TV it’s time for me to head out to the garage to do some painting. That is another advantage of this method. It is easy to paint in short bursts as you know exactly where you are in the process and it allows me to use any free time to keep things moving. I find it difficult to paint for long periods of time any way – my back seizes up and my eyes get tired, so batch painting is a good way for me to keep producing units.
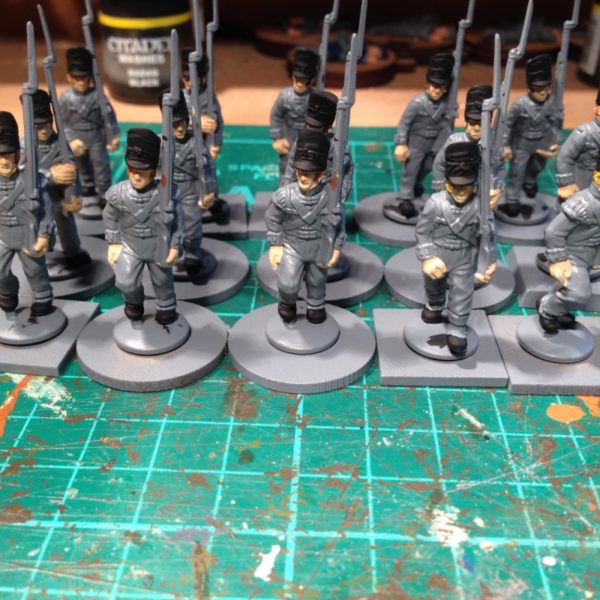
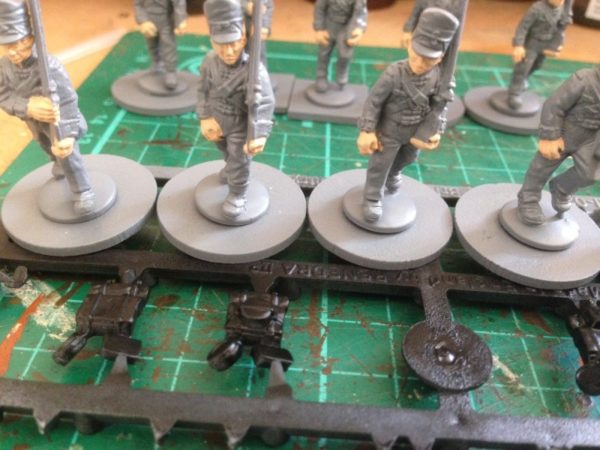
Hair and black equipment painted.
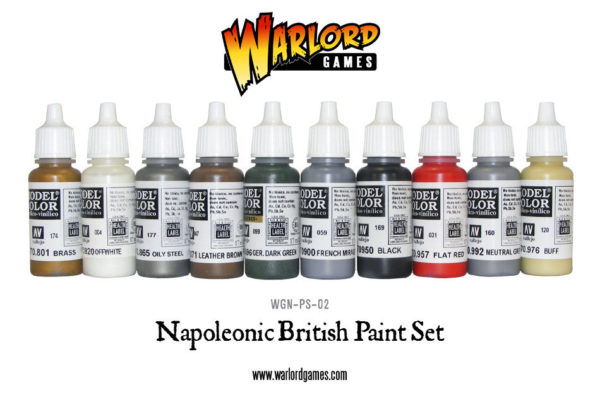
After assembling and priming the figures I blu-tack them to temporary bases to make handling easier and then start the painting. I try to paint from the ‘inside to outside’ of a figure and I always start with the flesh. I mentioned previously that I had left the back packs off to see if this made the painting any easier and you can see from the picture above, that they were primed in black rather than grey to save a bit of time on painting. Once the flesh is done I paint the hair on the figures – usually I choose three or four shades of brown and mix this up randomly. If I am feeling particularly lazy, they all get dark brown hair! The next stage is Vallejo Black 70950 for the hats, Boots and Bayonet scabbards.

Iraqi sand for the linen food bags
The next colour is Iraqi Sand 70819, for the linen food bags. You could use a lighter colour or even a white but I think this looks about right and these bags were likely to be discoloured with use. You will notice that at this stage I am not too fussy about how accurately the paint is applied. My general rule is not to worry about over runs, particularly when another colour will be applied adjacent to this colour. I do try and be fairly tidy where I have already painted a colour though. I’ve also painted the wooden bits on the rifles in Flat brown 70984.
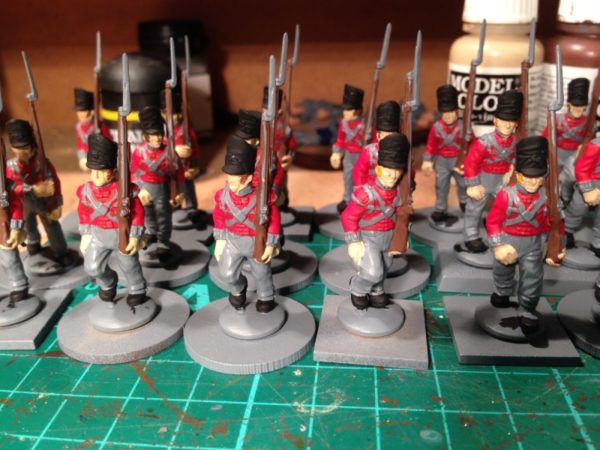
Red coats on!
The next colour is Flat red 70957. Now I know from the chatter on the forums that I could write a book on what colour red the coats really were. Any shade from brick red through to dark pink would do it. However, these are war gaming pieces and the coats need to be red, so no surprise, that’s the colour I’ve chosen. If you prefer something different, feel free to use which ever shade of red you think appropriate on your figures.
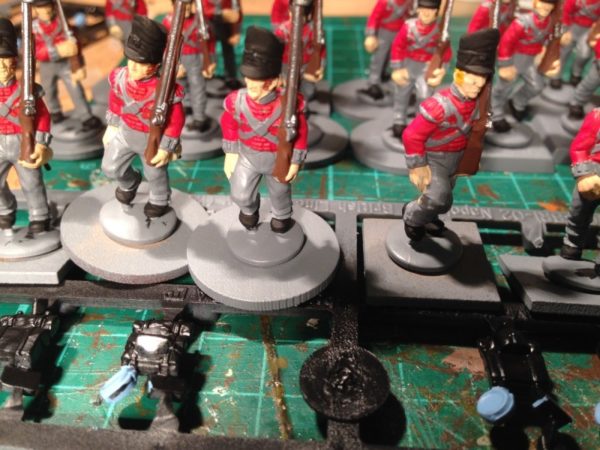
Work starts on the equipment.
Once the red was finished I moved onto the steel, 70864, for the musket barrels, bayonets and pans on the back packs. I also painted the water bottles 70901 in pastel blue. It is also worth mentioning at this stage that I will be using the army painter dark tone quick shade and I know from experience that this will alter the colours that I have used very slightly, as well as providing the shading and lining.
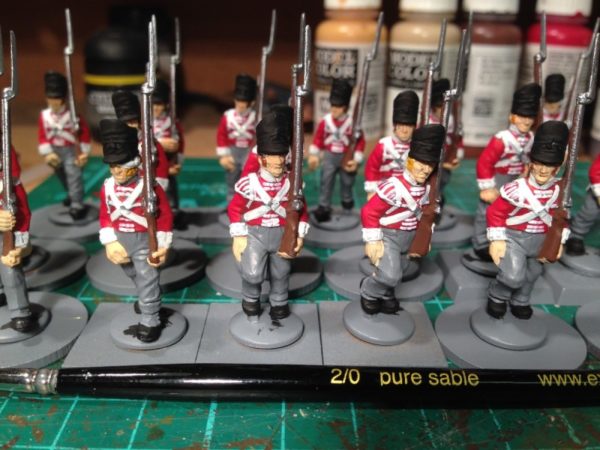
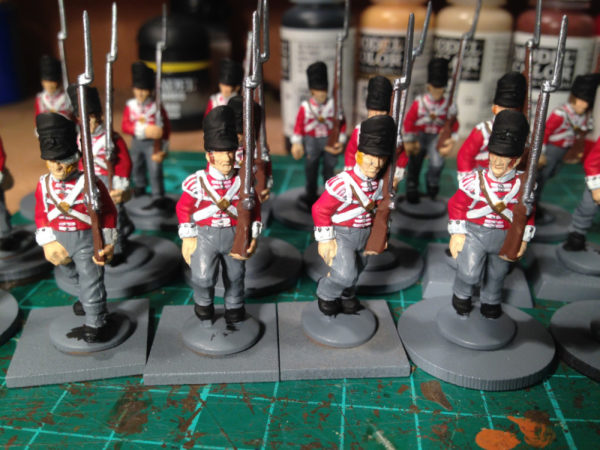
The 32nd battalion of foot starts to take shape!
The next colour is the white straps, facings, cuffs and lacing. I’ve changed brushes from a ‘1’ to a smaller ’00’ for this job. I’ve used Vallejo off white 70820 – I prefer this colour to the Vallejo pure white as it is a bit softer. The unit is beginning to take shape but still looks a bit rough around the edges!
The next stage in the process was to paint the Belt plates, bayonet scabbard tip and musket plate in Brass, Vallejo 70801. I also added the buttons in steel and painted the water bottle belt with Leather brown 70871.
Water bottle strap & belt plate added
At this stage I then turned my attention to finishing the back packs and equipment. This involved yet more white paint and the neutral grey 70992 for the blanket rolls. I also snipped them off of the sprue and tidied up the black and any other flaws caused by the cutting. A bit of a tricky operation but on balance, I do think that I have saved time by painting the back packs separately.
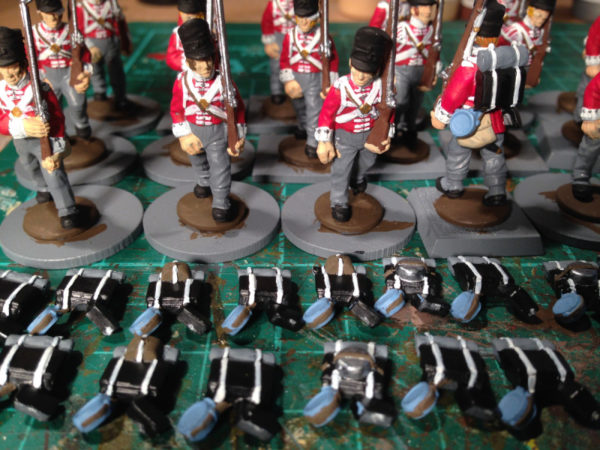
The quartermaster issues finished back packs!
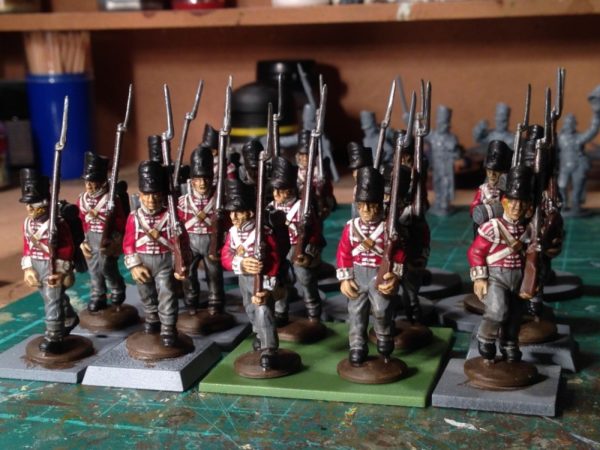
The final stage of painting was then to tidy up any major paint overruns, touch up the grey trousers with neutral grey where necessary and add the white line to the bottom of the coats. I also painted the bases Vallejo chocolate brown, 70872 in preparation for basing the unit later and of course, attached the back packs using super glue. Polystyrene cement wont work too well because of the coat of paint – this is the only time that I would use super glue on a plastic figure!
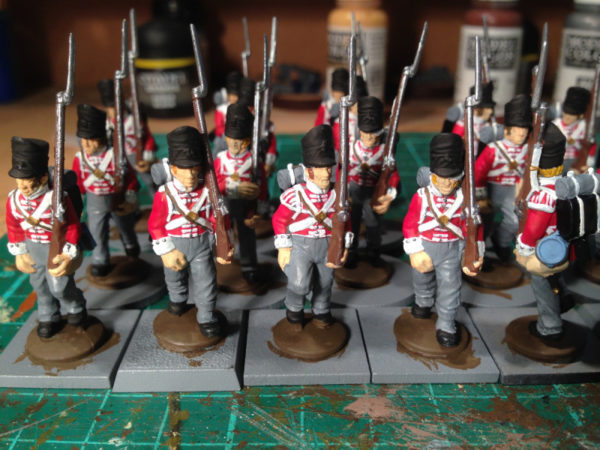
Back packs on & bases painted.
Now comes the tricky bit. I paint the troops with Army painter Quick shade. I prefer the dark tone although I know that some will say that the Strong tone (which is more of a brown colour) would work better with the red coats. You could also use an ink wash at this stage, it would give you a similar result but the Strong tone has a varnish element to it which makes the figures more durable when on the table top and it is my intention that this unit will see plenty of action!
Dark tone applied
The next step is then to matt varnish the figures with Army painter anti shine. This again can be a tricky operation as varnish can be troublesome so I tend to use a light coat at first. I’ll then give them a second light coat after I have based them.
Army Painter anti shine first coat
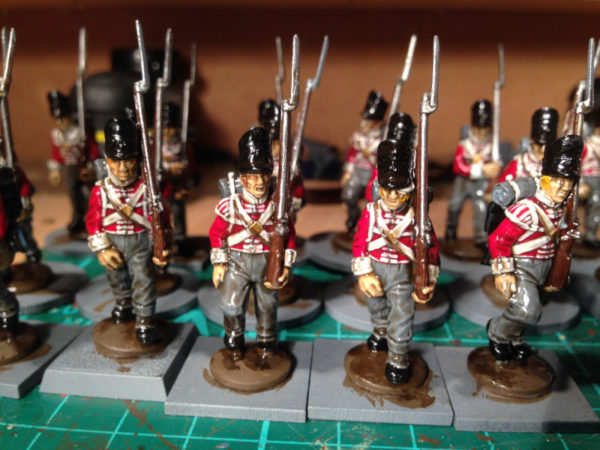
At this stage they are just about table ready but there is a couple of things to do before the basing.
I am going to re highlight some of the white to really make the cross belts stand out on the table and I’m going to paint the bayonets and buttons bright silver. This is also the time to have a last look at the figures and correct any obvious errors in painting. This may seem a step too far but it does help to tidy up the figures.
It’s always a difficult task to decide when a batch of figures are complete. Each time I look at them I can see something else that could be improved but at some point they have to move off of the painting desk and onto the gaming table! As you can see from the picture above, I will base the figures in groups of four on 40mm x 40mm square bases – purely due to personal preference.
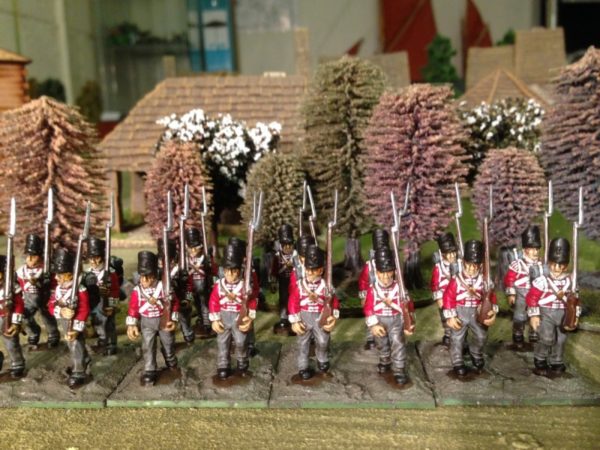
The 32nd foot on their bases!
You can see from the picture that I am nearly finished. I used the Vallejo Dark earth textured paste to mount the figures on their bases. There is no need to use glue. Just spread the paste all over the bases and then press the figures into the paste. I then used a cocktail stick to blend the paste over the bases. The textured paste is about the right colour but if you want to, you can paint it. I gave it a quick dry brush to bring out the texture using flat earth (Vallejo 70983) lightened with Iraqi Sand. The final touch was to add some green scatter and some tufts to add some interest to the bases.

32nd Foot ready for action!
And so it is on to the next job, painting the command group. These are metal figures and are beautiful sculpts. I will take a bit more time with these, so it will be a week or so before the whole Battalion is really ready but for now, the troops are done! To be fair, not the best batch of troops that I have painted but for me, certainly the fastest. I think that I have spent about 12 hours in total on the 18 figures, which is about 40 minutes per figure!
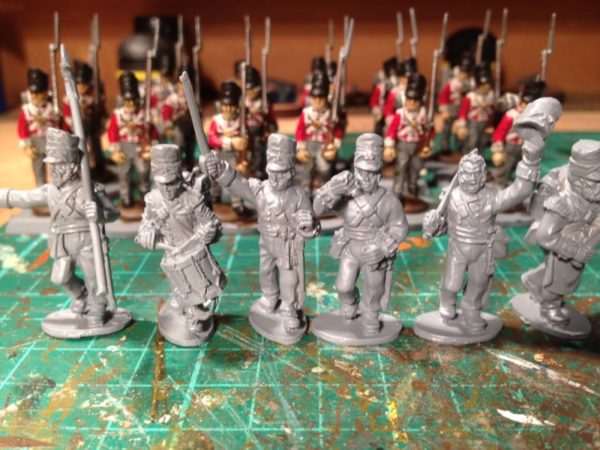
Next up, the command group, primed and ready for painting!