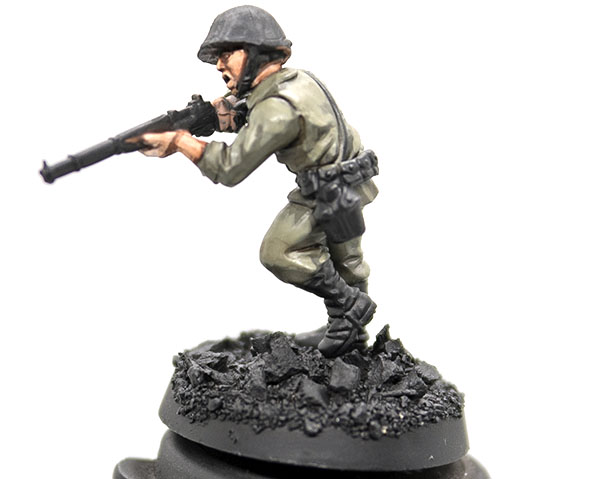
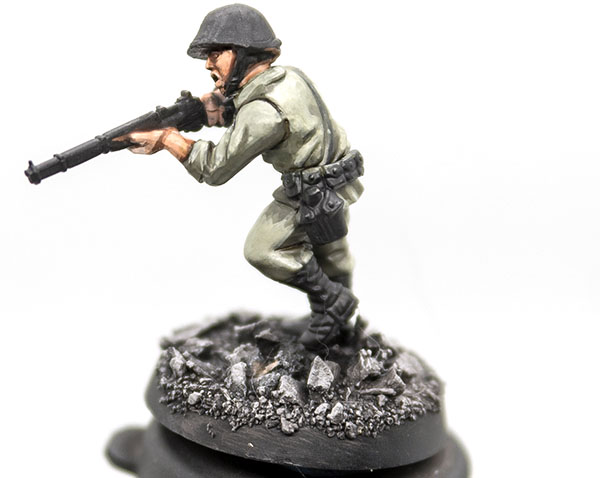
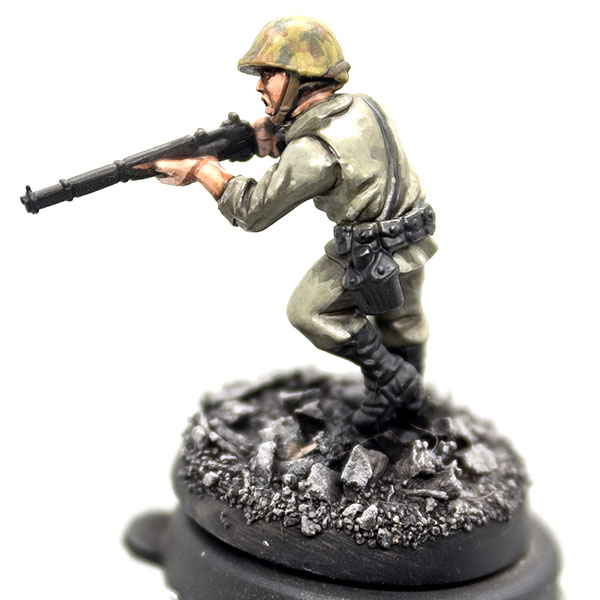
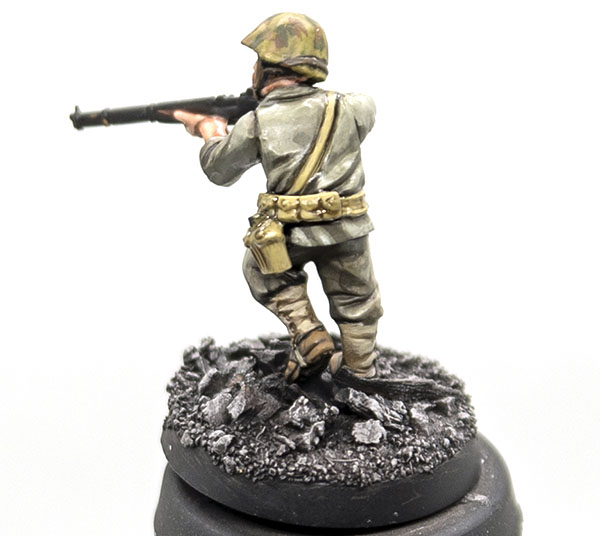
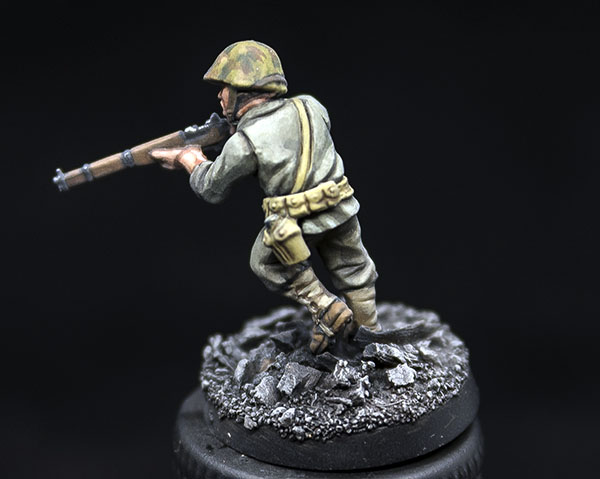
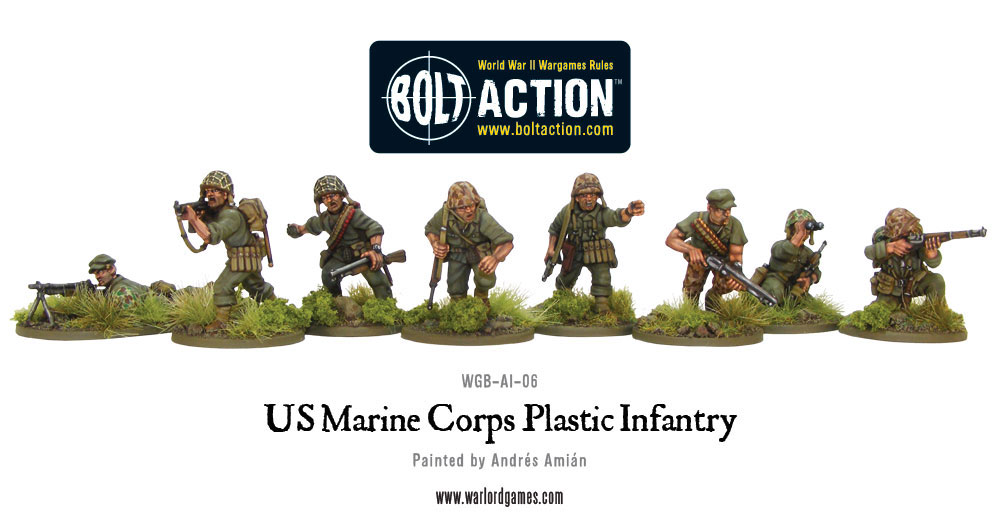
Jacob: Hey, guys! Today I have the pleasure of walking you through my method of painting a United States Marine as he fights his way through the hostile environment of Iwo Jima. I’m diverting from a “clean” style of painting and am focusing both on making my troops look gritty but also practical for the tabletop.
I’m used to painting at a showcase level, but I need to have over 40 marines ready and raring to go in November 2017. This method is good for both above tabletop quality models and good for the appearance of gritty, combat-tested troops. Let’s get on with it…
The Skin
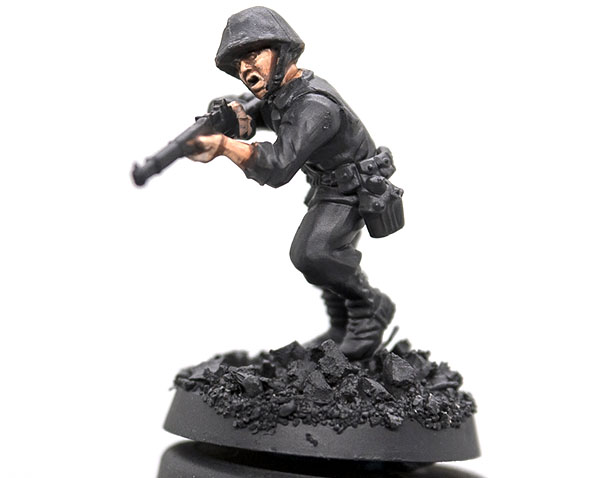
I always start with the skin of my models. Working up from a black primer, I establish my base with Army Painter’s Tanned Flesh. Once I have a solid coat of that, I highlight the raised edges with a 50/50 mix of Tanned flesh and Army Painter’s Barbarian Flesh.
Once the highlights are dry, I then add a diluted wash of Army Painter’s Flesh Wash to bring unity to the skin shades.
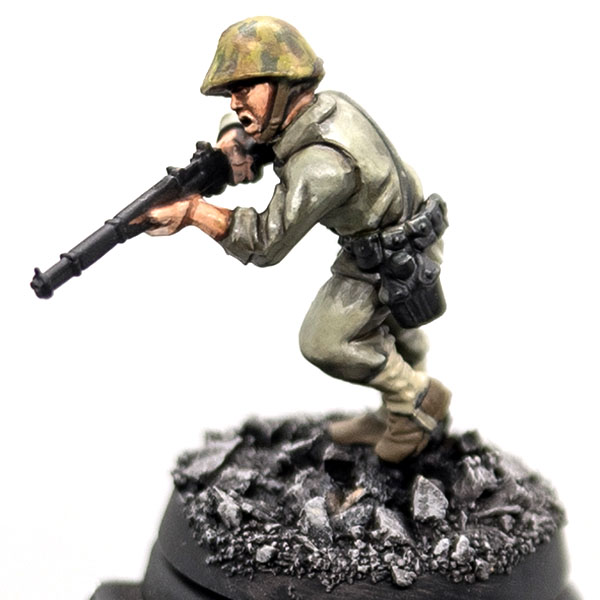
The Uniform
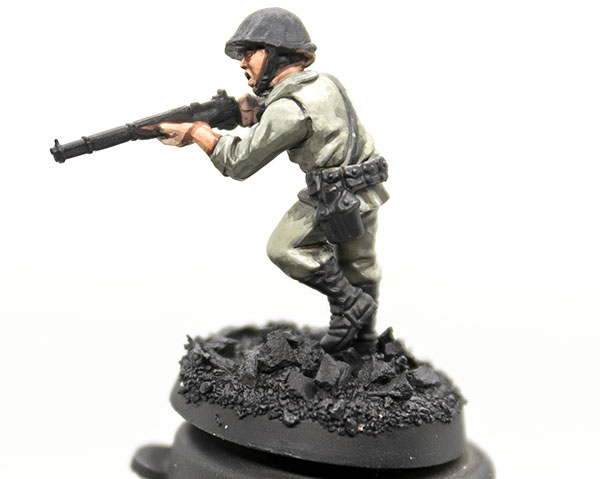
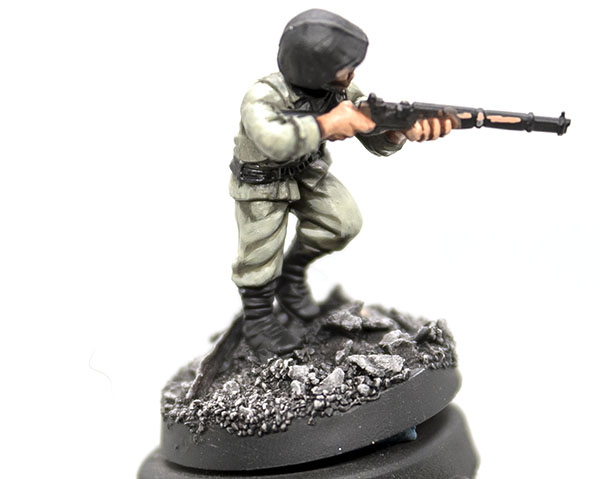

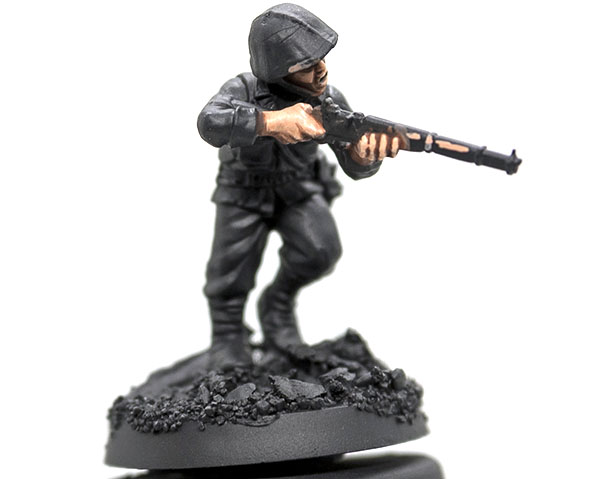
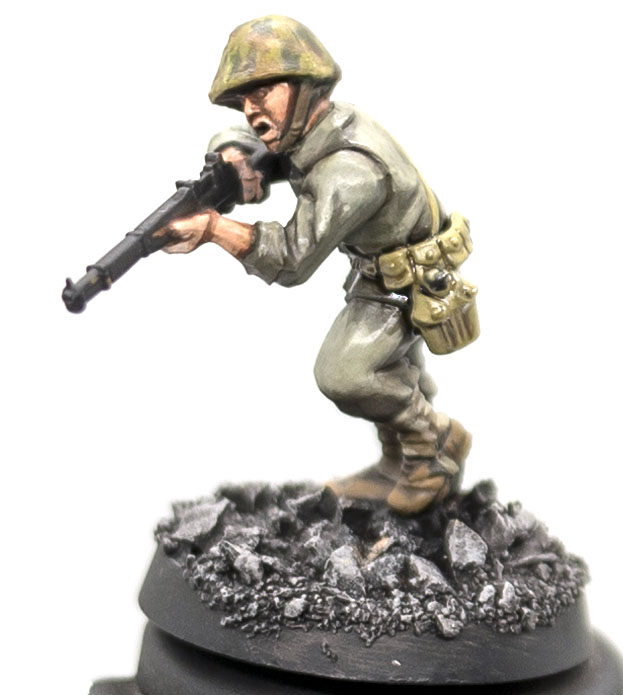
The uniforms the Marines wore would often fade very quickly due to exposure from the sun and salt water. I wanted my marine to look like his uniform’s colour had seen better days. I started with a base of Vallejo Model Colour (VMC) US Dark Green 70.893.
After the basecoat was set, I created a mix of VMC US Dark Green 70.893 and VMC Green Grey 70.886 at a roughly 50/50 ratio. I applied this mix to the uniform and made sure to work my way up to the raised edges.
Once I felt good with the highlights, I applied diluted coats of straight VMC Green Grey 70.886 to the raised edges. After the highlights were dry, I applied a liberal wash of Darkstar Ink’s Green Olive. With the wash dried, I added final highlights of VMC Green Grey 70.886 and VWM Pale Grey Blue 70.907 in a 50/50 ratio.
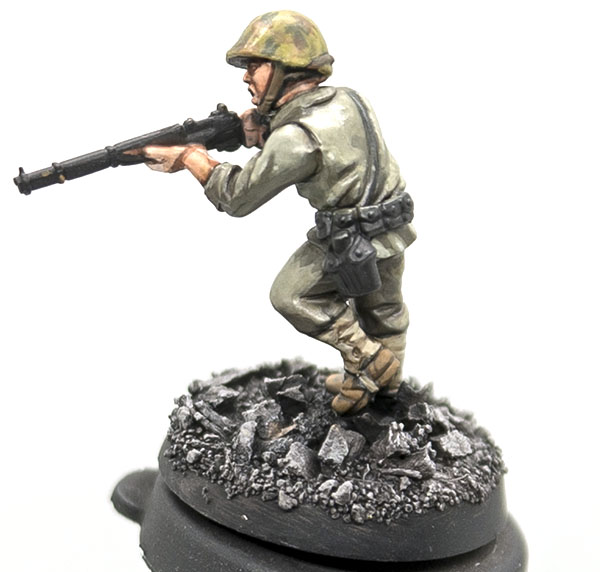
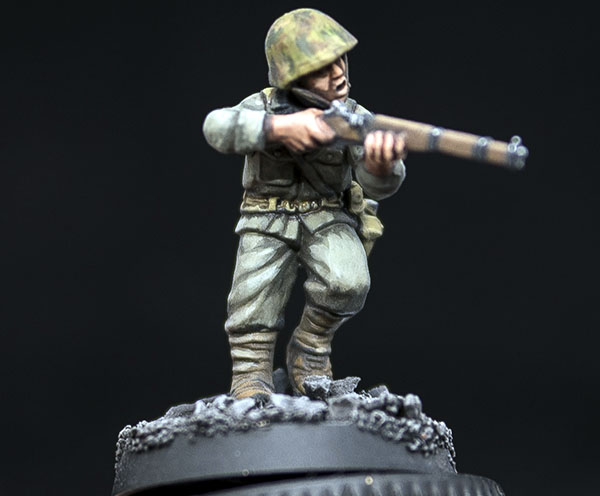
The Helmet Cover
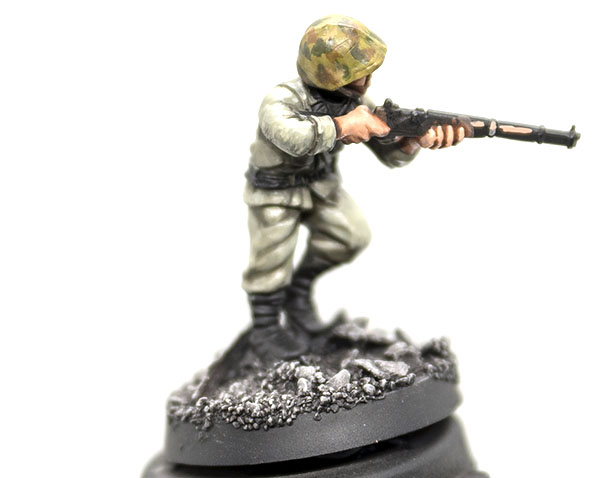
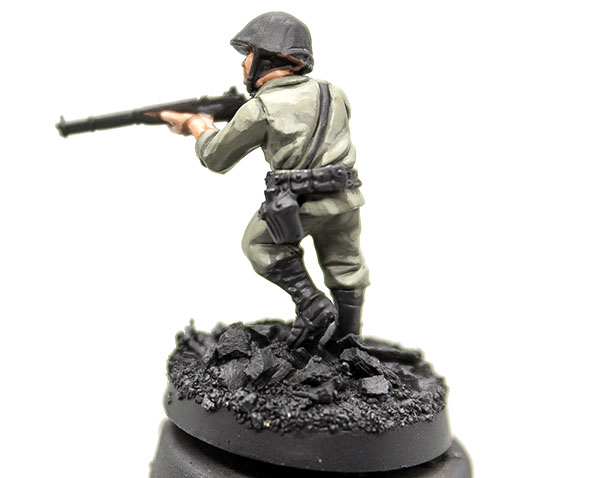
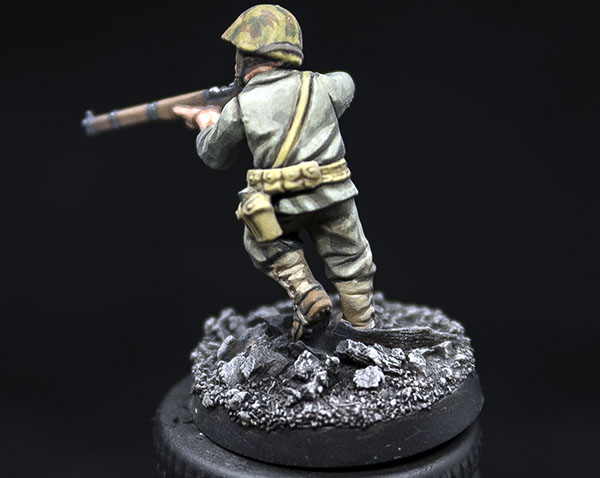
For this Marine’s helmet cover, I wanted to replicate the Frog skin pattern that was widely distributed in the Corps when the landings on Iwo Jima began. I started with a base of VMC Middlestone 70.882 and made sure to establish a solid base coat.
After the basecoat was dry, I added blotches of VMC Flat Earth 70.983, VMC Desert Yellow 70.977, and VMC Reflective Green 70.890. Once I was satisfied with the pattern, I toned it all down with a 50/50 wash of Darkstar Ink Green Olive.
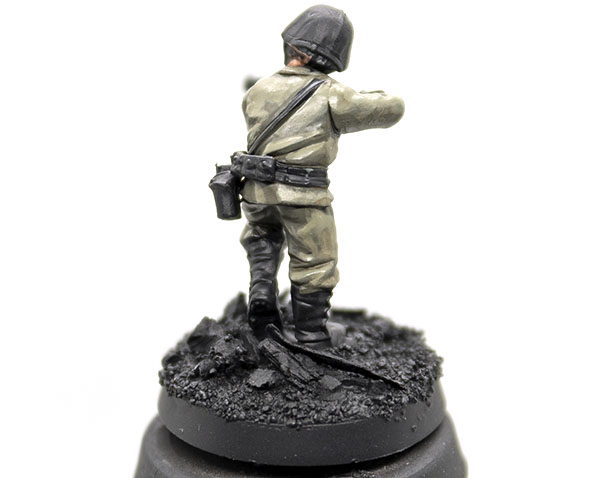
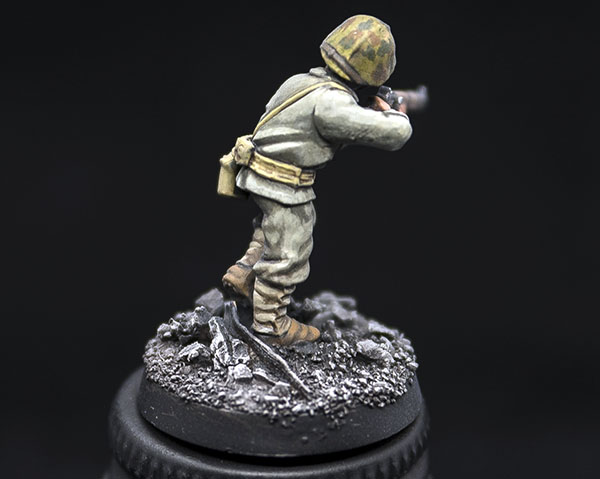
The Webbing, Puttes, and Boots
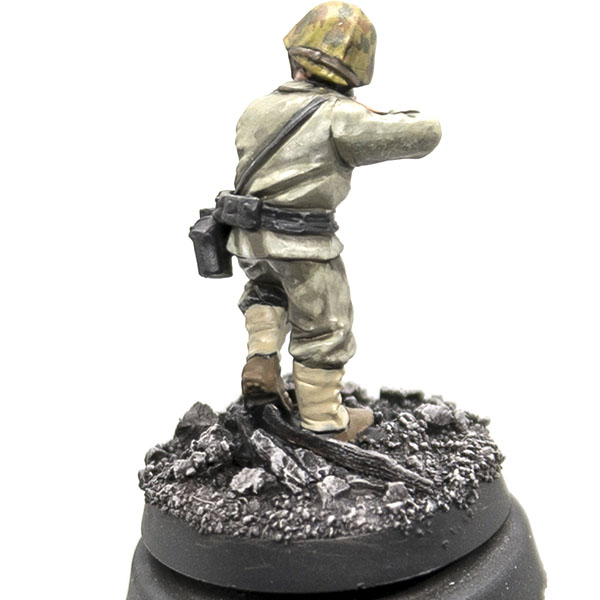

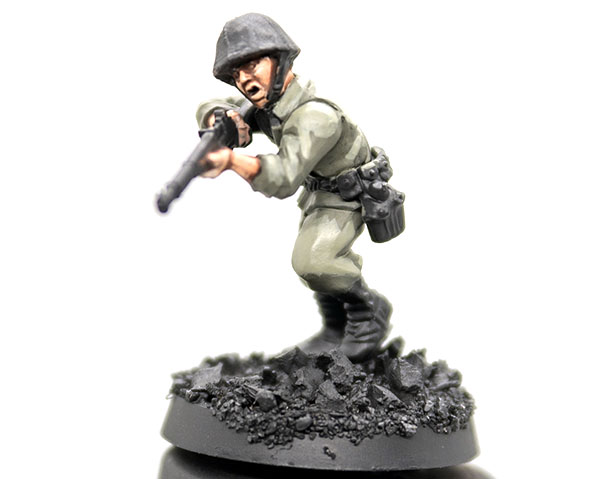
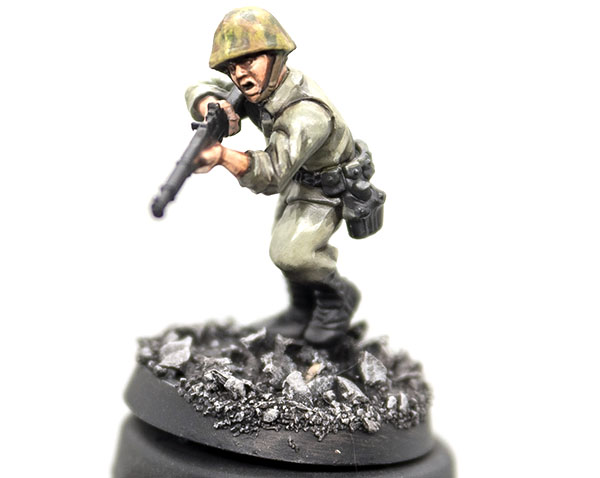
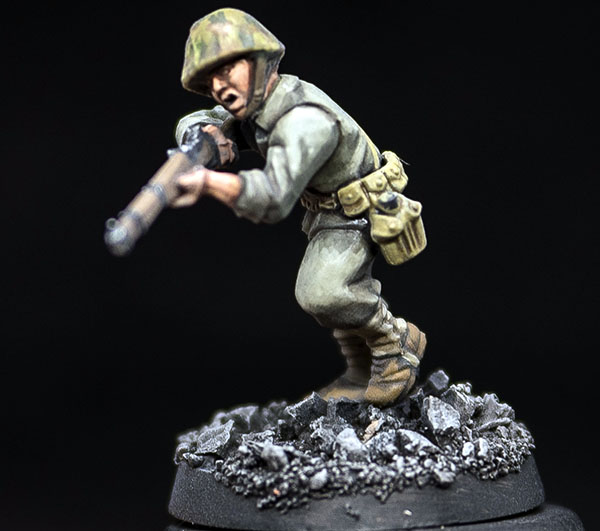
We’re almost to the end! At this point, I tackled the puttees and boots. I first applied base coats of VMC Flat Earth 70.983 to the boots and VMC German Camo Beige WW2 70.821 to the puttees. Once they were dry, I hit both elements with Citadel’s Agrax Earthshade. Once the wash was dry, I went back over and highlighted with the original colour.
I base coated the webbing with a 50/50 mix of VMC Khaki 70.988 and VMC Middlestone 70.882. I washed the webbing with Citadel’s Agrax Earthshade once the basecoat was dry. After the wash was dry, I highlighted with VMC Khaki 70.988.
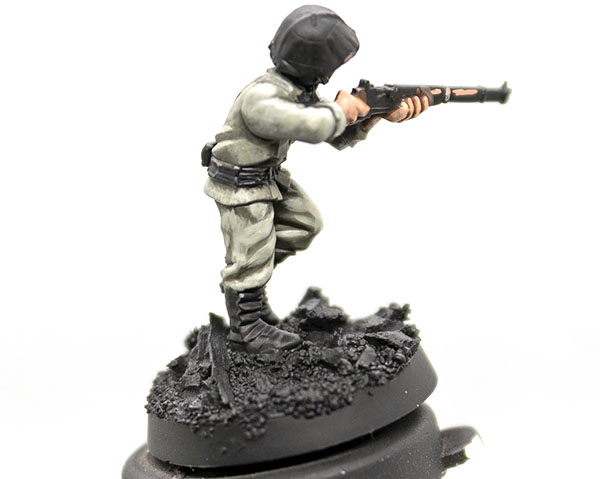
The Rifle and Wrapping It Up

We’re on to the final steps!
I base coated the rifle’s wooden elements with P3’s Bloodtracker Brown. For the metal portions, I used Ammo by Mig’s Flat Black. After these colours were dry, I applied a wash of Citadel’s Agrax Earthshade to bring out the definition. Once the wash was dry, I applied a 50/50 mix of P3’s Bloodtracker Brown and VMC Desert Yellow 70.977 to the wooden portion as highlights. To finish off the metal bits, I applied very subtle additions of Vallejo Model Air’s Steel.
To seal the model and call it good, I applied several thin coats of Alclad’s Flat Coat with my airbrush.
There you have it, I hope this tutorial provided guidance for you all and your endeavours painting your own USMC force. If you ever have questions, feel free to look me up on the forums or on the Bolt Action Facebook pages. Until next time, have a great one!
Jake
Inspired? Get started!
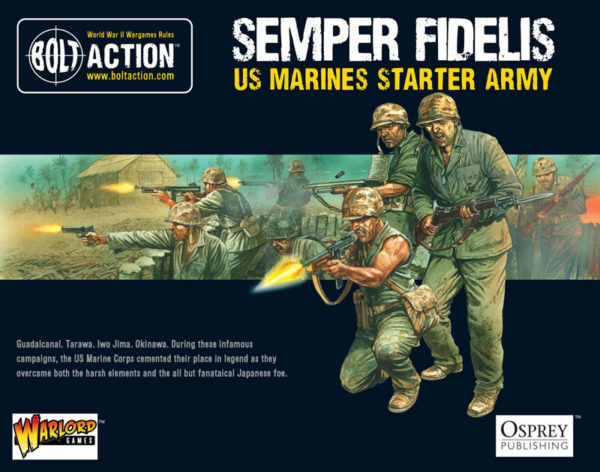

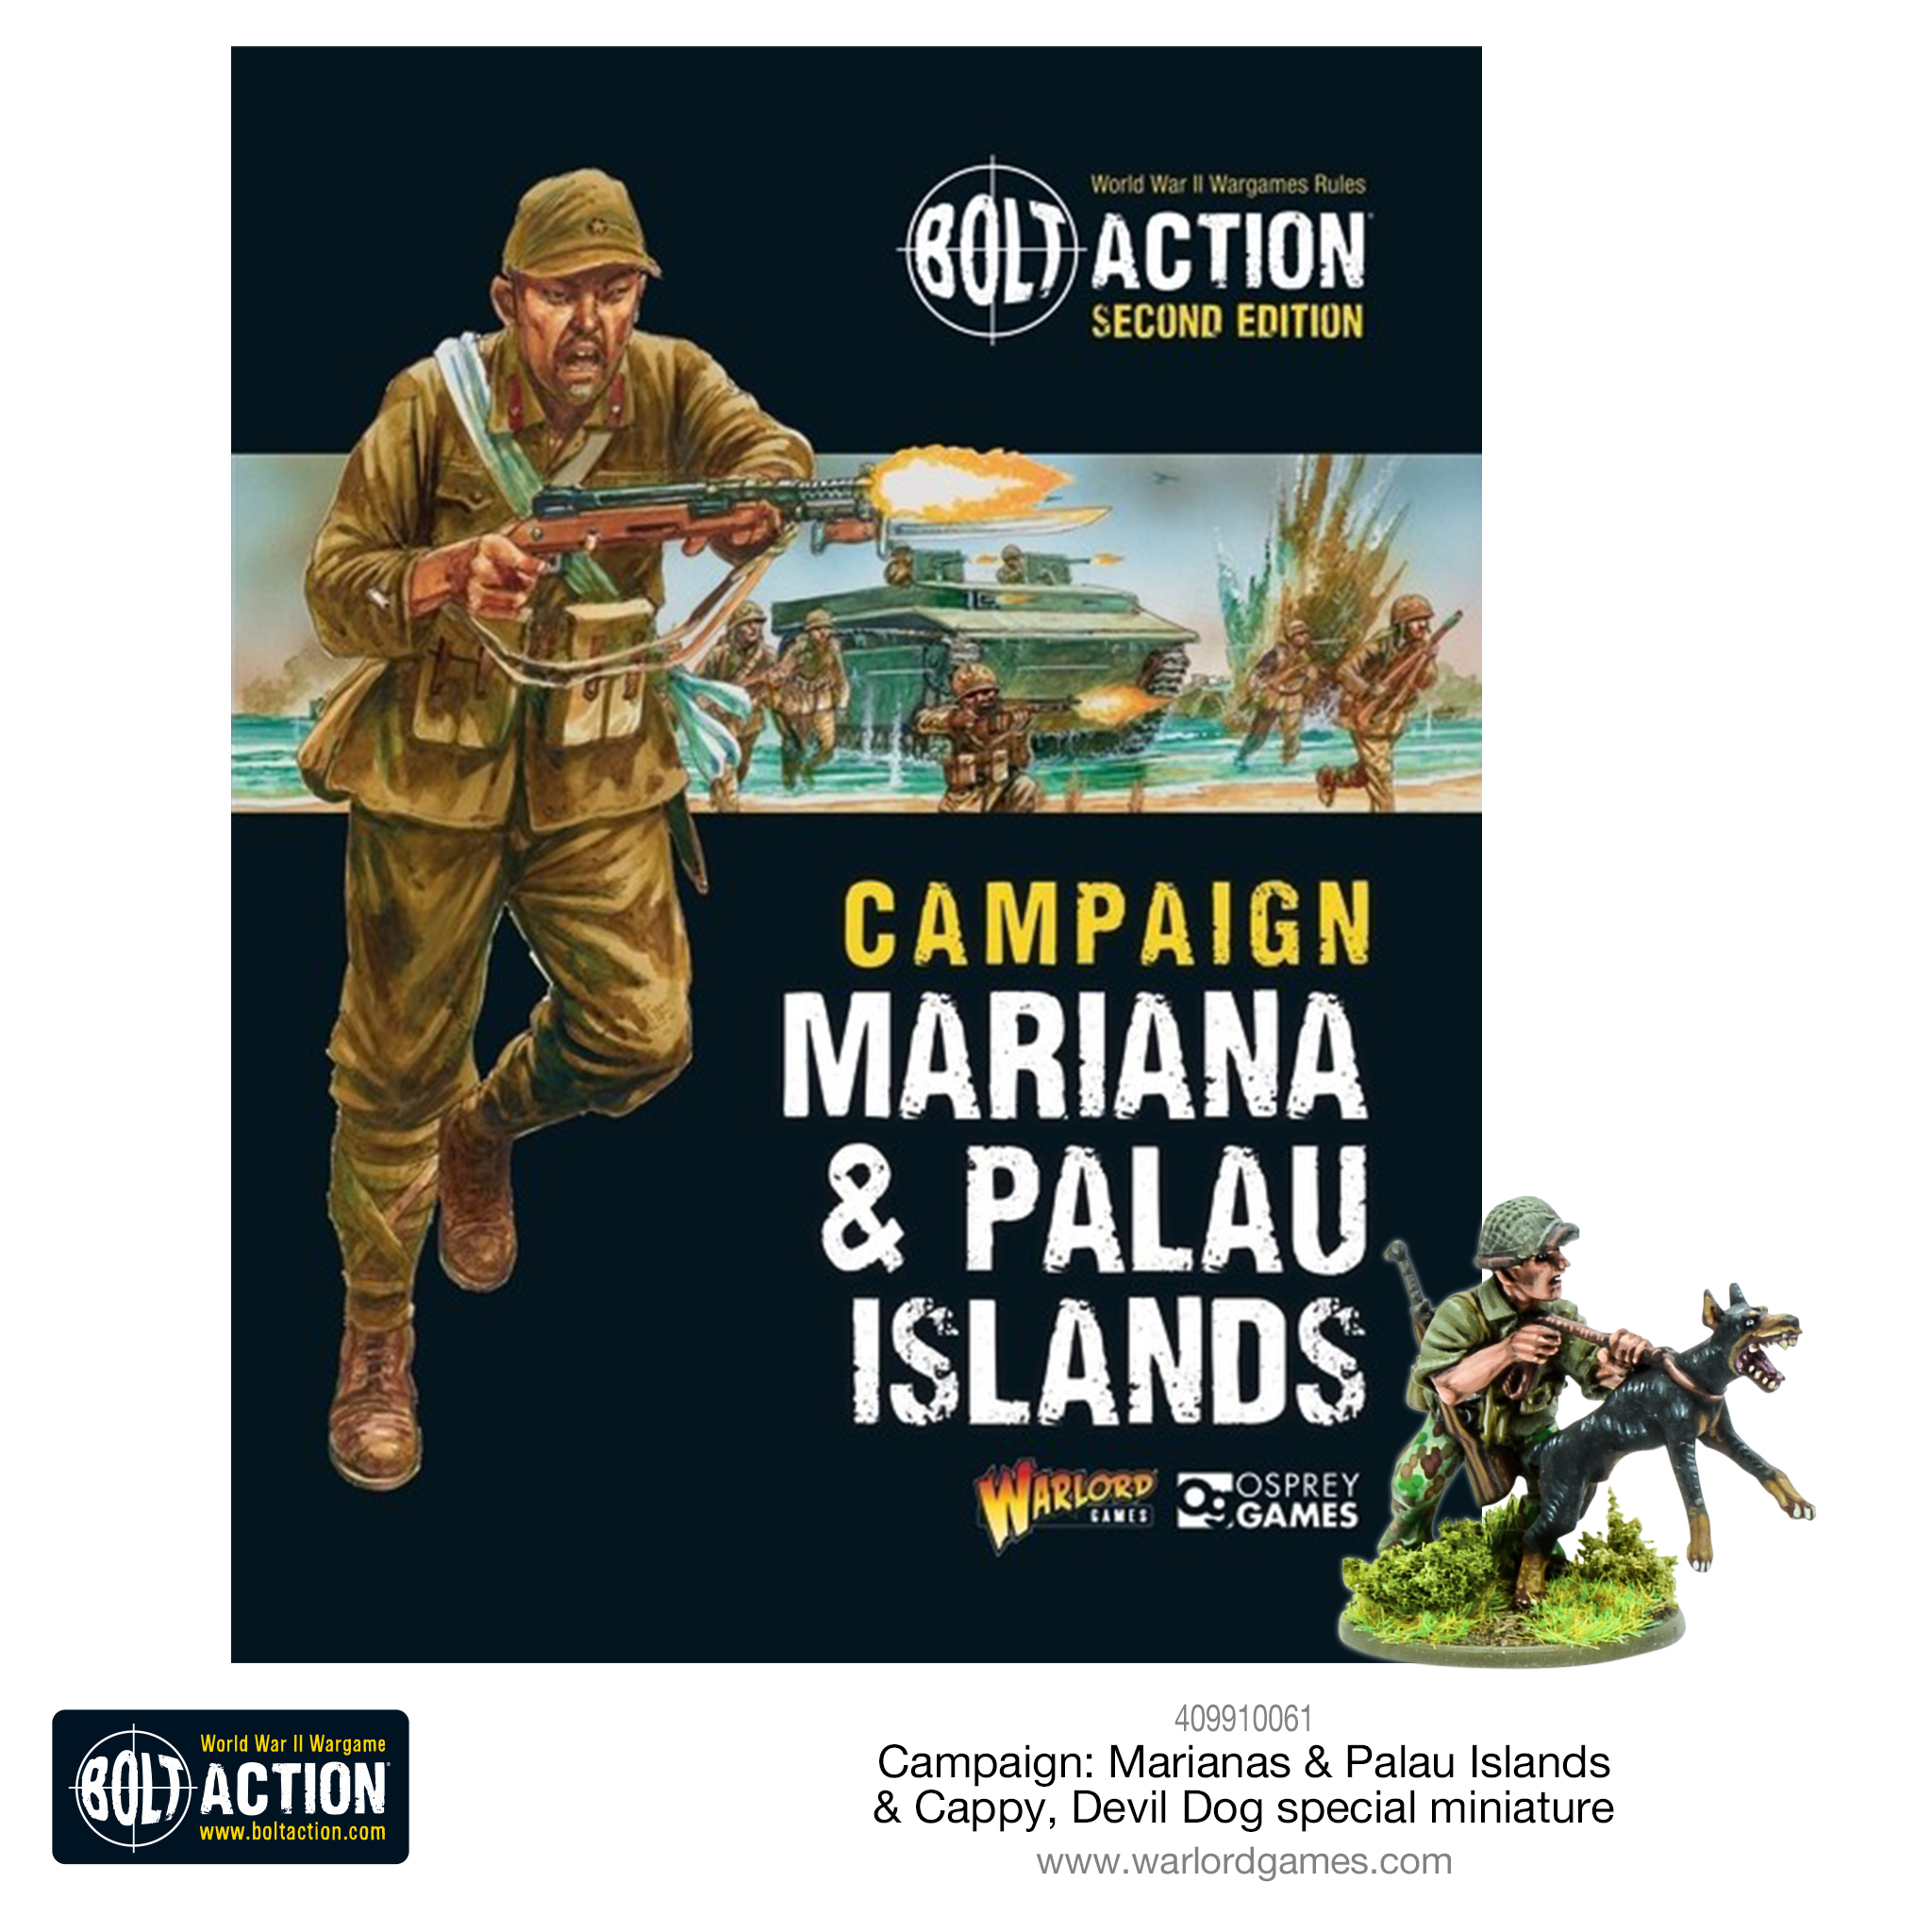
Begin your Island-Hopping Campaign
This new campaign supplement for Bolt Action allows players to recreate the historic island-hopping battles between US and Imperial Japanese forces in the Pacific theatre that took place in 1944. Even whilst the Allies stormed the beaches of Normandy, US forces were beginning to sweep across the Pacific in their own Blitzkrieg, fighting embittered and ferocious battles across tiny strips of land against tenacious Japanese defenders.
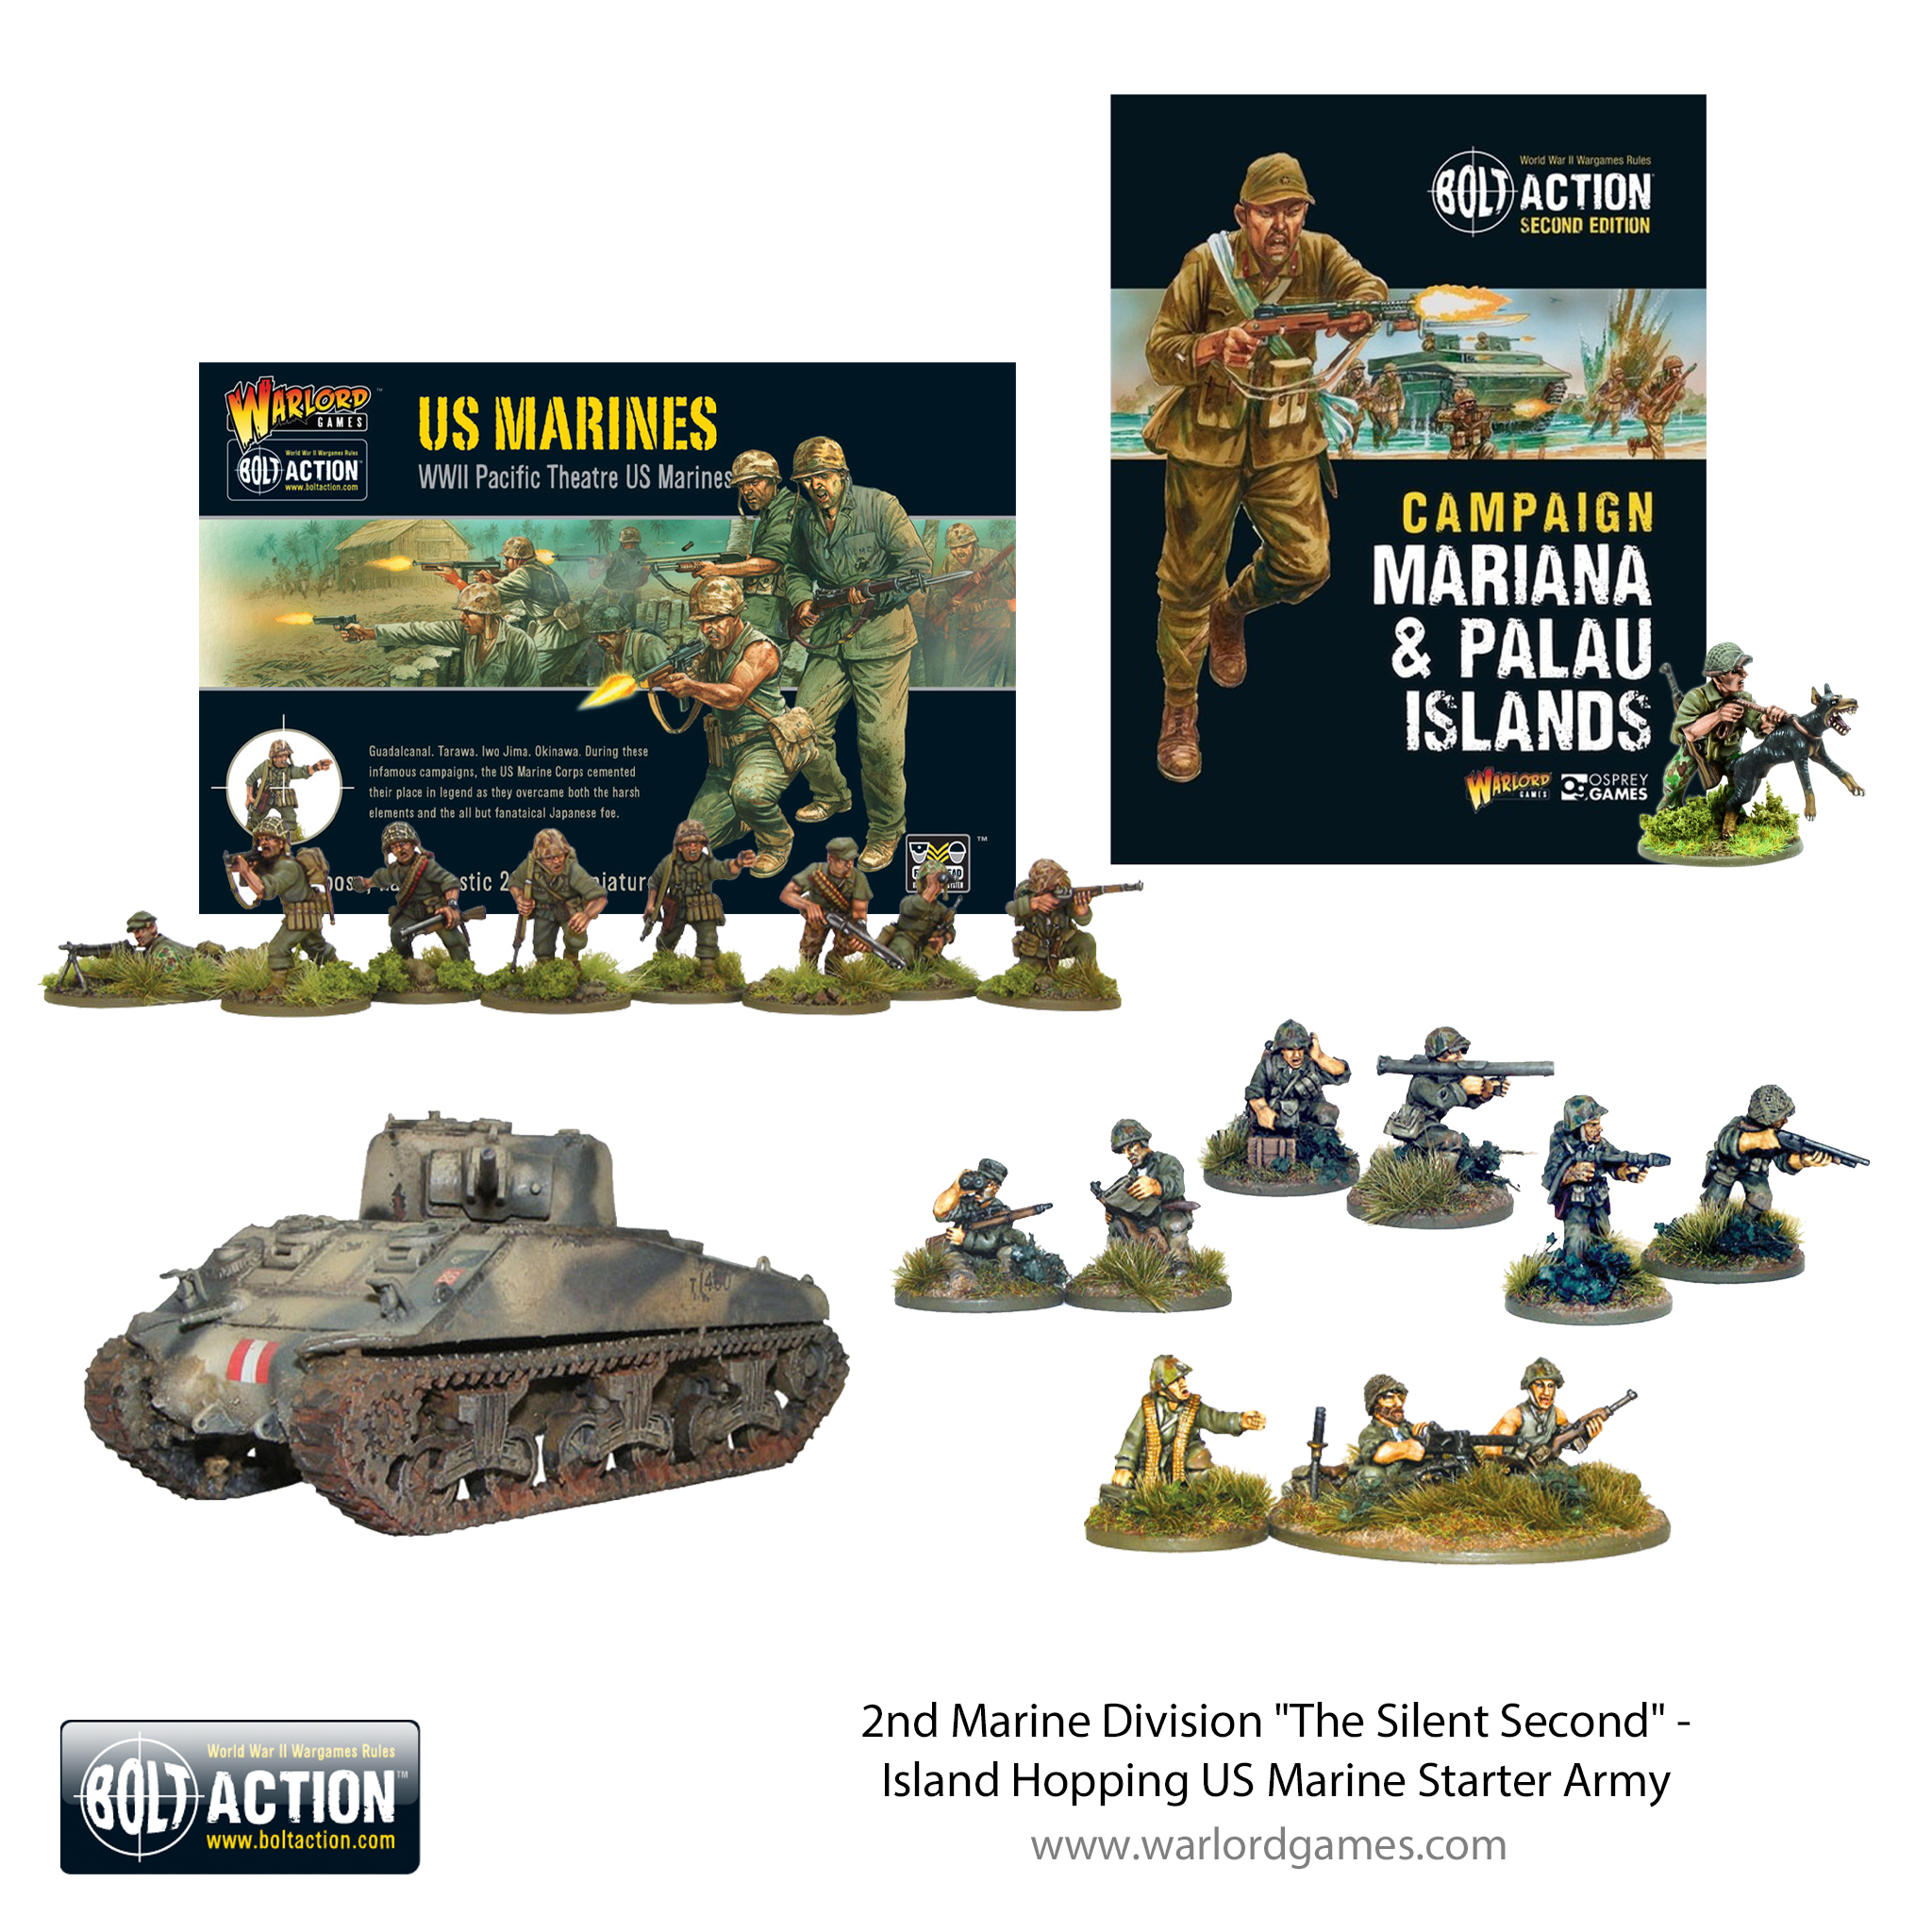
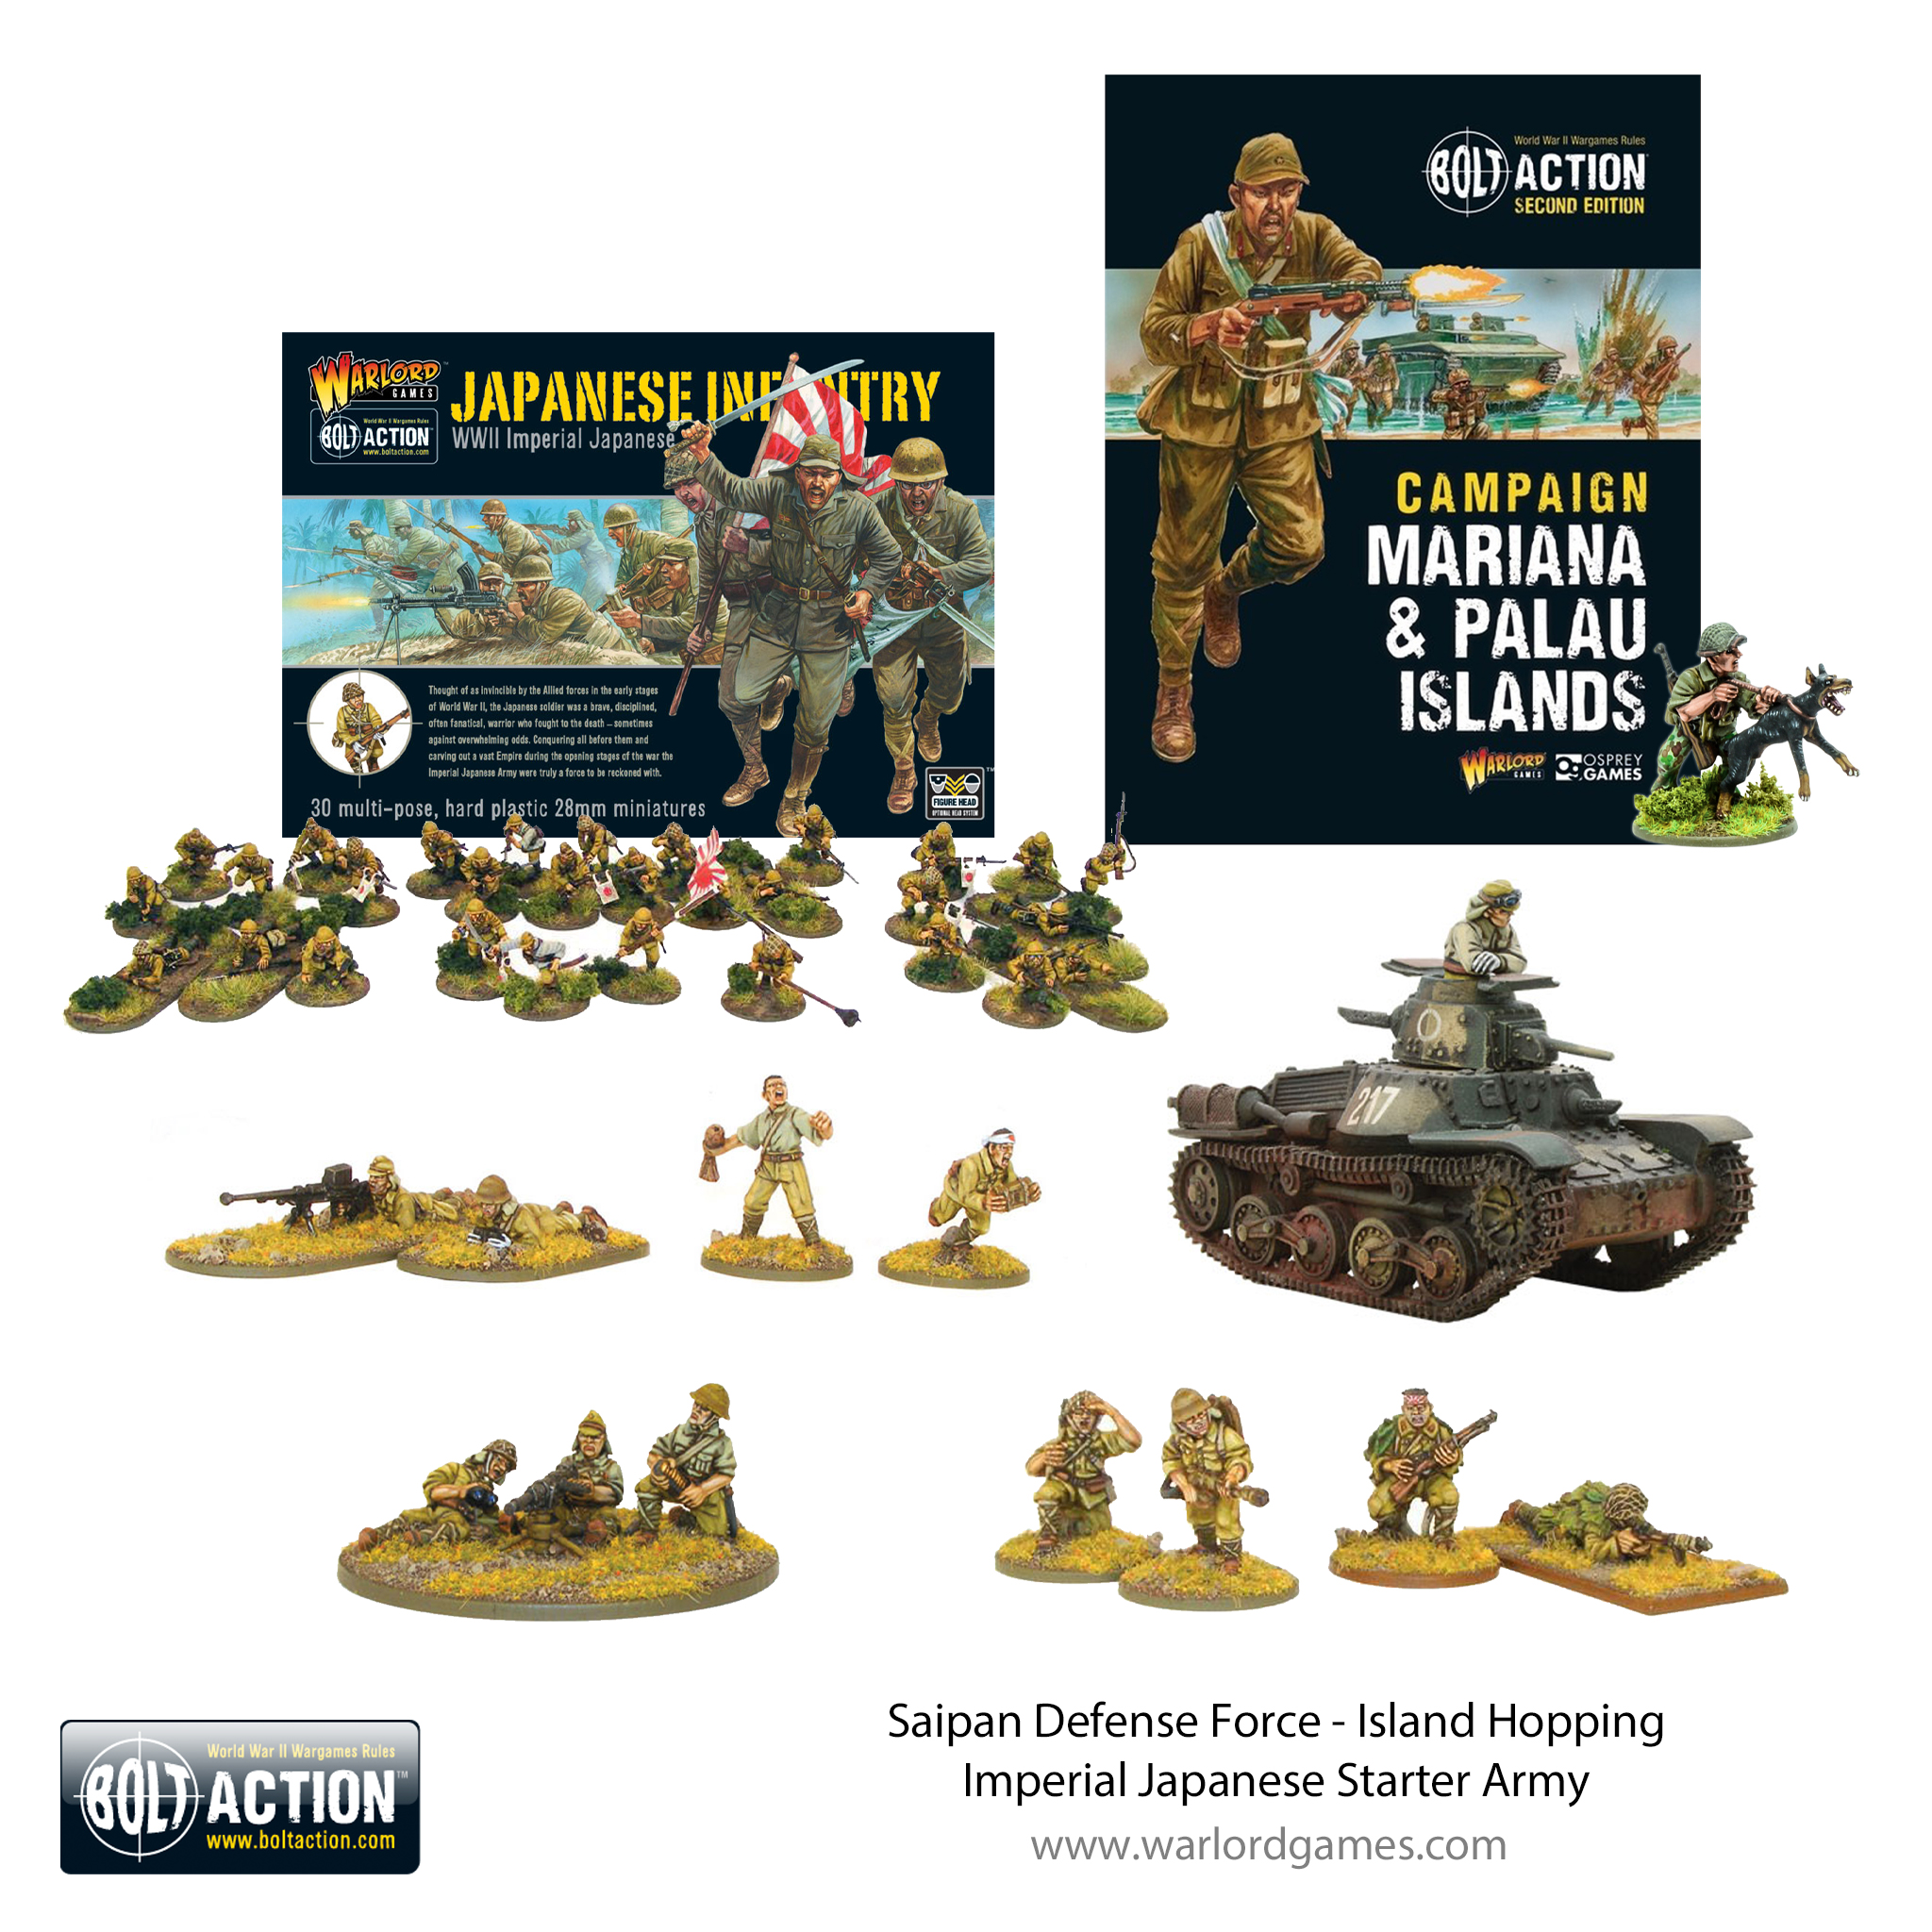
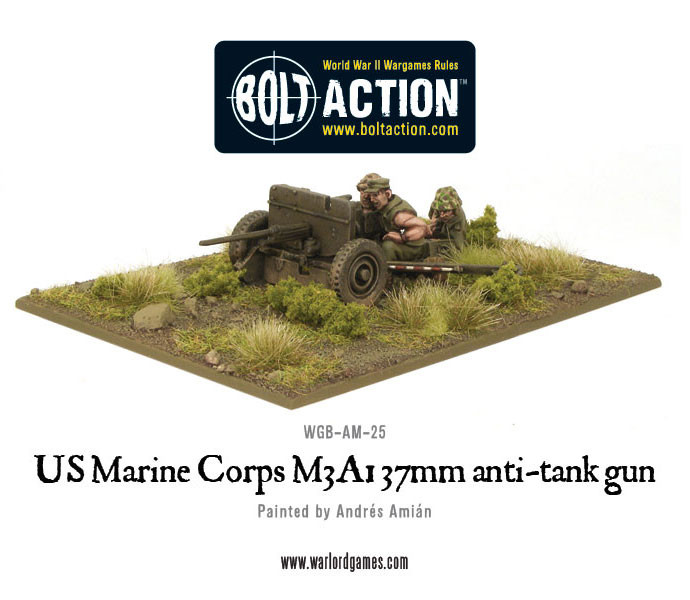
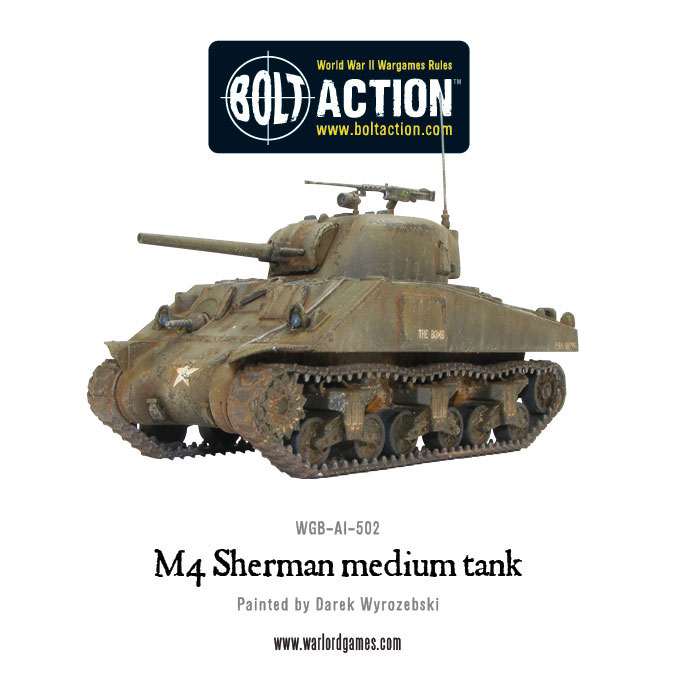
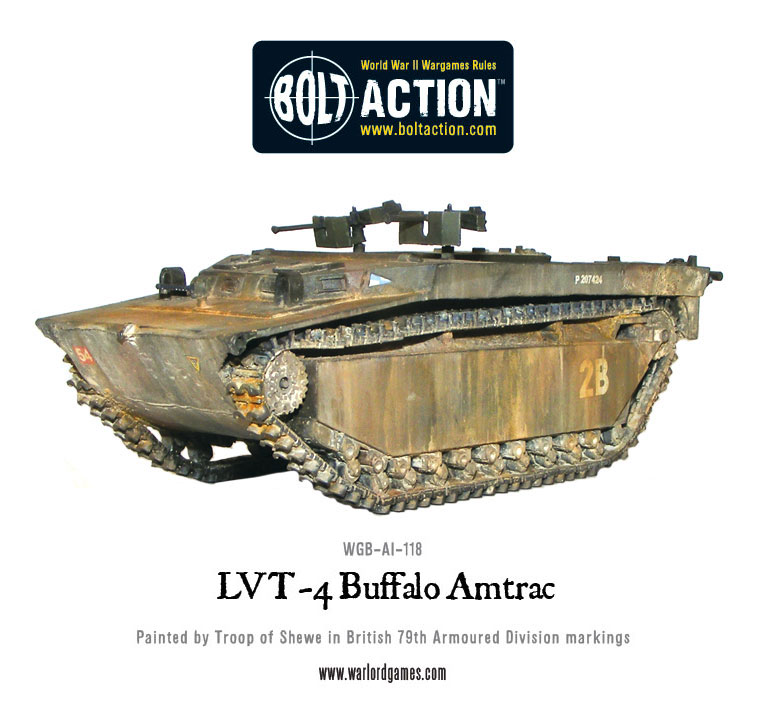
Or consider our Island hopping starter army bundles, perfect for quickly assembling a dependable core army for assaulting or defending the islands of both the Marianas and the Palaus.