Warlord sculptor Wojtek concludes his look at how he sculpts as he finishes his Gladiator model. See how the project comes to a conclusion below.
You can read the previous parts of Wojtek’s sculpting tutorial here:
Part 1: Tools
Part2: Research and armatures
Part 3: Starting the Gladiator
Wojtek: In this, the final part of this sculpting tutorial I’ll start with building the upper body and arms.

The first thing I did was drill three holes at the shoulders and neck so I can attach the armatures for what will become the arms and the head/helmet which I sculpted in the previous part of this tutorial.
Once the glue has dried for the armatures and head I bend the arm wires using a pair of pliers. Once in the position I wanted I covered the wire with a thin layer of sculpting putty (ProCreate, in this case). I also added the gladius to the right hand. As you might have noticed I added a little putty to the chest area and smoothed it into the basic shape.
Before I did anything else I waited for everything to thoroughly dry. I mention in part 3 how this is important. In the meantime I’ll be working on other figures – I usually have a few on the go at any one time for exactly this reason.

Once the ProCreate had dried I applied more putty using tool No 1, sculpting the muscles. They are exaggerated as he’s a Gladiator who would be training for long hours each day so muscle definition would be greater than you’d see in the average fighting man.
As you probably know, 28mm miniatures are not a properly proportioned scale as they are stylised to have a more compact body, larger heads and, due largely to the needs of the casting process, weapons tend to be larger than they would be in real life. As a result it is always up to the sculptor to make it look right. At this point I can only suggest budding sculptors research and learn about muscles and anatomy but anybody can repeat a good piece of concept art without a great knowledge of anatomy so give it a go.
I always think that you learn better by practice but one way to learn is to take a course in life drawing – these night classes are widely available and in no time you will understand the relationship between muscles, joint and the proportions of both.

Whilst the putty on the torso was drying I made a start on the left arm. I had to be very aware that I might press the wet putty but I wanted to do this before it was dry to avoid a noticeable joint and, if necessary, make an adjustment to the position of the arm.
I added a layer of ProCreate to the left arm and using tool No.1 I sculpted the smooth shapes of the muscles. Switching to tool No.2, I then added extra depth to joints such as the elbow and under the arm.
The next element of the sculpt I’ll be working on is the left hand. Hands can be tricky…

The above diagram should making explaining how I do this easier! The most common hand pose to do is a fist – that’s what you’ll find around most weapons after all.
Taking a piece of wire, brass rod, etc. I add sculpting putty in a ball to form the basic form of the hand. Using tool No.1, I give the hand its basic shape before using the blade end of tool No.2 to remove some of the putty, if I’ve add too much initially.
I then smoothed out the angular areas left by cutting away excess putty. Now the fun part – adding fingers. With tool No.2 I cut spaces between where I want the fingers to be. Lastly I add a little putty to make the thumb before gently pressing tool No.1 into the back of the hand – this creates texture and the knuckles.

Next up is the right arm. You’ll recall the leather bound leg cover I made in part 3 – I wanted to add this type of cladding to the weapon arm of the model.

I smoothed the metal arm guard with tool No.1 but the details are added with tool No.2.

Firstly I cut straight lines deep enough to make it look like overlapping metal plates – much like the Roman Legionary manicae arm guards used during the Dacian wars.
Then with the flat end of the sculpting tool (No.1) I pushed one side of each plate inwards leaving the other side raised. I finished the armour off by adding a little detail to the shoulder guard.

The Gladiator is really starting to take shape now! Next I added the straps for his shoulder guard.
Whilst this is one of the easiest things to add, there are a few things we have to bear in mind. First, we’re using ProCreate ‘grey stuff’, which is less ‘sticky’ than Kneadatite ‘green stuff’ putty. For it to be stuck into the model the strap must be drying but not totally – you’ll need it to be a little tacky at least. Finally, we should cut a line on the model where the strap should go – this gives the strap something to cling to as the putty cures. If you don’t follow the steps you’re likely to find the putty sticking to your sculpting tool more than the model!

The next part of the model we’ll take a look at is his skirt. I started by added a layer of sculpting putty. As you practice you’ll soon begin to realise how much you need to add at this stage so don’t be disheartened if you are removing or adding putty regularly.
For cloth and similar types of material it is worth studying how different types of material reacts to movement, wind, etc as getting this right can really set your sculpts apart.

The final part of the tutorial is to add the gladiator’s belt. You will have noticed that I made the skirt with a place left for the belt. This will help give the impression of the belt tightly holding the skirt up.
To add the belt I rolled some putty into a sausage shape then, using tool No.1, flattened it off to the same depth and width all around the gladiator’s torso. Most Gladiator belts were covered with brass plates and to create that effect I used tool No.2 to divide it into squares. Then it was a simple process of carefully adding some ornamentation to each square plate. Finally I added a raised stud onto the middle of each plate…

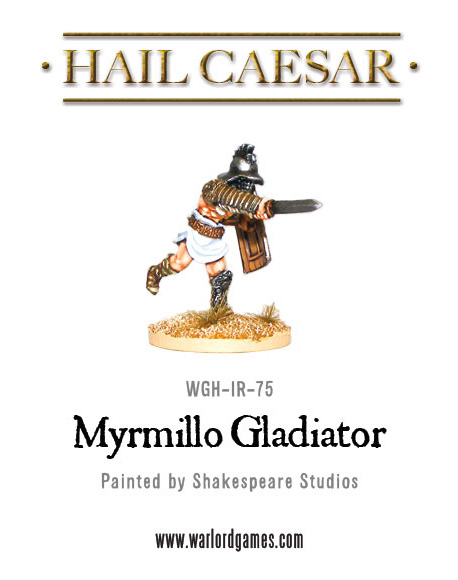
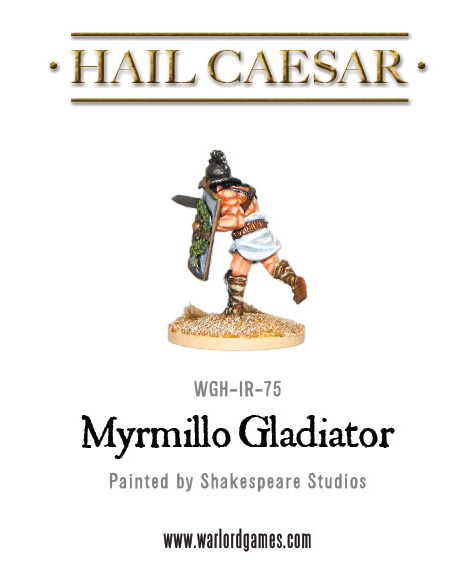
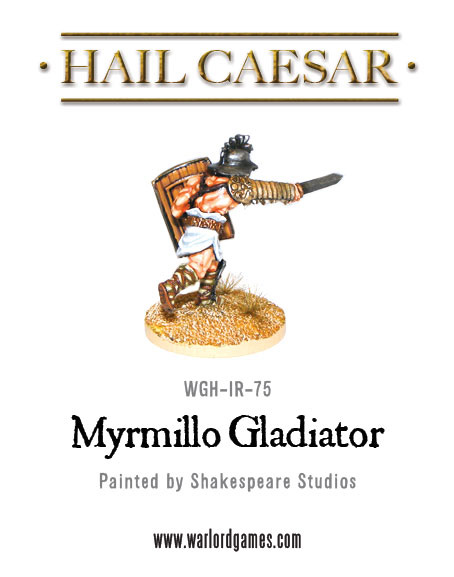
And now, with the sculpting done, we have our gladiator! As you will have seen the model isn’t sculpted in one long sitting – it takes time and patience (as well as a lot of practice) to sculpt an effective looking miniature.
Hope you enjoyed this tutorial – I hope you have fun trying your own sculpts and conversions – I would love see your progress so please post pictures of your work on the Warlord Games forums!
Of course, now we have our finished Myrmillo Gladiator it would be rude for us not to release him wouldn’t it!
I may be back with more tips on how to sculpt in the future but for now it’s down to you!
– Wojtek